

Here’s Exactly How You Should Clean Your Car’s Interior

Updated: Apr. 18, 2024
Chances are, you’re missing a few important steps! Here’s how to clean your car’s interior the right way, according to a cleaning expert.
Have you ever smelled old, spilled latte baked into the floor mat of a car? Because I have—and it was as gross as it sounds. But I managed to get it out while working on a recent car-detailing project. So if you often find yourself apologizing that your car is such a mess when giving a lift to a friend and you’re not quite sure how to clean a car interior properly, help is here.
Luckily, most car-cleaning jobs are a lot more straightforward than my latte experience, and they don’t require special products or skills. Plus, as far as cleaning tasks are concerned, the low effort and immediate reward of cleaning the interior of a car makes this job a pretty fun one. I’ve been a cleaning expert for more than a decade, and detailing the interior of a car is one of my favorite jobs. (Moms aren’t supposed to have favorites, but no such rule exists for cleaning experts!) My knowledge comes from interviewing professional detailers, auto-care products experts and car enthusiasts, and from the best training of all: getting out there and doing the job myself.
Here is the best way to clean the inside of your car, including the order in which to work to get the best results quickly. I’ve also recommended a few products that I’ve found to be incredibly effective, but many of them aren’t absolutely necessary, so if you’re looking to save a few bucks, you can skip them and just stick to the basics. Either way, after this routine, the inside of your car will look as new as the day you got it!
Get Reader’s Digest’s Read Up newsletter for more cleaning, tech, travel, humor and fun facts all week long.
| Reviewed for accuracy by: Ann Russell, TikTok’s “cleaning auntie” and the author of How to Clean Everything. |
How to clean your car’s interior
Cleaning the interior of a car is a straightforward job, but the order of operations does matter. For the best results, follow these steps in this order to maximize your time and effort. It’s also worth bringing a stack of clean microfiber cloths to the party, because these humble rags will do the lion’s share of the work. Switch to a clean cloth often as you work, discarding soiled ones in a to-be-washed pile, to avoid contaminating one surface with the soils you’ve just cleaned off another spot.
Supplies you’ll need
- Microfiber cloths
- Trash bags
- Handheld vacuum, or full-size vacuum with a brush and/or crevice attachment
- Water
- Car interior detailing spray (optional but recommended)
- Vent cleaning gel (optional)
- Carpet and upholstery cleaner (optional)
- Glass cleaner (optional)
Step 1: Open the doors
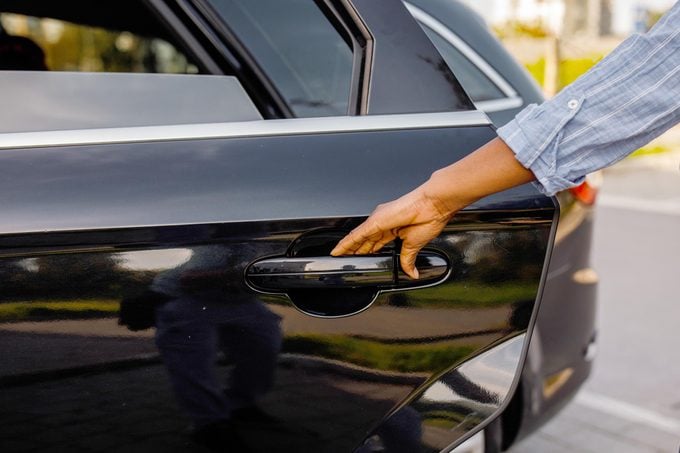
Open all the doors. If the car has a trunk door or hatchback, open that too. Opening the doors will allow air to flow through the car while you’re cleaning, helping to flush out stale odors. Opening the doors will also give you complete access to all the areas of the car that will need to be cleaned.
Step 2: Take everything out
Remove garbage, and place it in a trash bag. Then take out anything that belongs elsewhere, like clothes, accessories or purchases that need to be brought into the house. If the take-out pile is significant, put the items in a plastic laundry basket or shopping bag; that way, you can easily tote everything into the house. If there are items in the car that are supposed to be there, like an emergency kit or extra grocery bags, take them out and set them aside while cleaning; this also includes small items like loose change and chargers. The car’s interior should be empty before moving on to the next step.
Step 3: Remove the floor mats
Remove the floor mats from the car, and set them aside. If there are stains on carpeted mats, use a carpet and upholstery cleaner to spot-treat them. I’ve had success with Bissell Woolite Stain and Odor Remover (it’s what I used on that awful latte stain), but any spray or foaming carpet and upholstery cleaning agent will work well. Consult the instructions on the label, and apply the cleaner as directed; this will typically entail letting it dwell on the stain for 10 to 20 minutes. Allow the cleaner to penetrate the stains while you work on the interior of the car to maximize your time, going back to rinse the stain remover and vacuum the mats to complete the routine (more on that below).
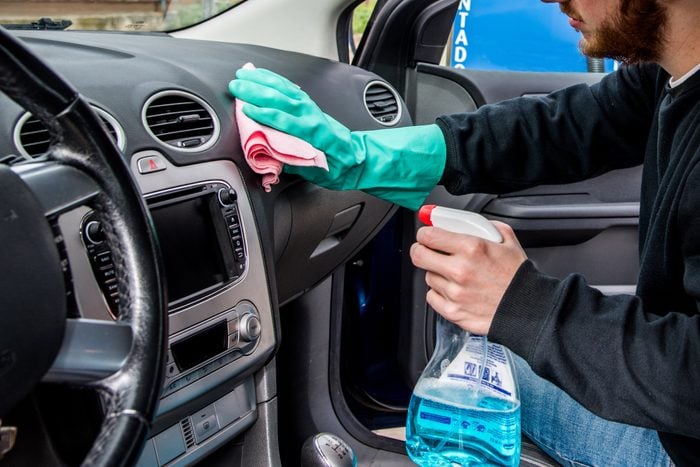
Step 4: Clean the dash, center channel, side panels and vents
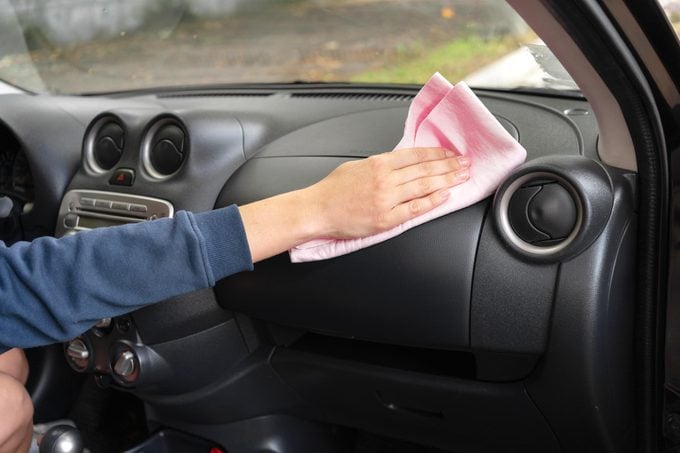
Use a dry microfiber cloth to wipe the dash, center console, side panels and vents to remove dirt, dust, hair and other soils. If the hard plastic surfaces need deeper cleaning, dampen the microfiber cloth with water, an all-purpose cleaning agent or a car-interior detailing spray; this should remove buildup, grime and residue from spills. Avoid using cleaning agents that contain bleach or ammonia, which are too harsh for use on car-interior surfaces.
While a car-interior detailing spray isn’t required, I highly recommend using one because they are formulated to safely clean a variety of interior materials, from plastic and vinyl to leather, metal and even LCD and navigation screens. Interior detailing sprays also contain UV protectant to prevent damage like fading and sagging from harmful UV rays. I also suggest using car-cleaning gel, a reusable goo-like substance that effortlessly (and instantly) picks up hair, crumbs, dirt and more from small spaces in the car like cupholders and vent openings. It is grossly satisfying to see just how much stuff the goo picks up, and it’s a convenient item to toss in the glove box for easy (and, again, oddly satisfying!) cleanup on the go.
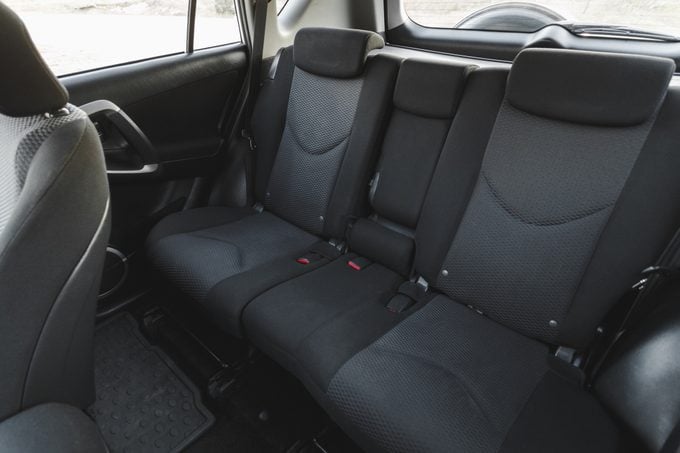
Step 5: Vacuum the seats
Using a handheld vacuum, or a full-size vacuum fitted with the brush and/or crevice attachments, thoroughly vacuum the seats. As you’re vacuuming, take note of any stains on cloth seats, or spills, stickiness or buildup on leather seats, that need to be addressed.
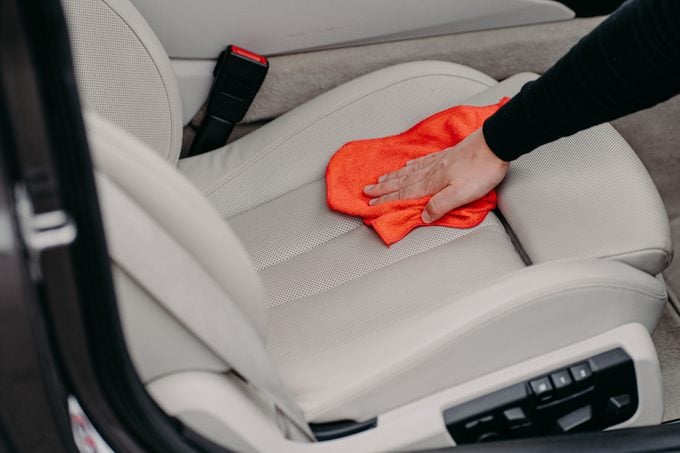
Step 6: Treat stains on the seats
To clean small stains on cloth seats, use a carpet and upholstery cleaner. (Either spray or foam options are fine.) Apply the cleaner to the seats, following product’s instructions. After allowing the cleaner to work for the prescribed time, usually 5 to 10 minutes, go over the area with a damp microfiber cloth using gentle but firm pressure to lift the stain and remove the residue from the cleaner. If cloth seats need to be deep-cleaned or call for an allover cleaning, use a carpet and upholstery cleaning machine.
To clean leather seats, apply a small amount of leather cleaner and conditioner, or a leather-safe car-interior detailing spray, to a microfiber cloth. Clean the seats, working in a circular motion. Then buff the seats with a clean, dry microfiber cloth.
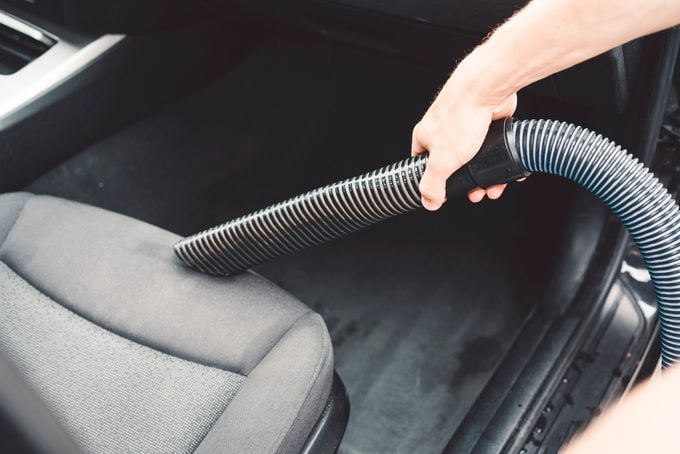
Step 7: Vacuum the floor
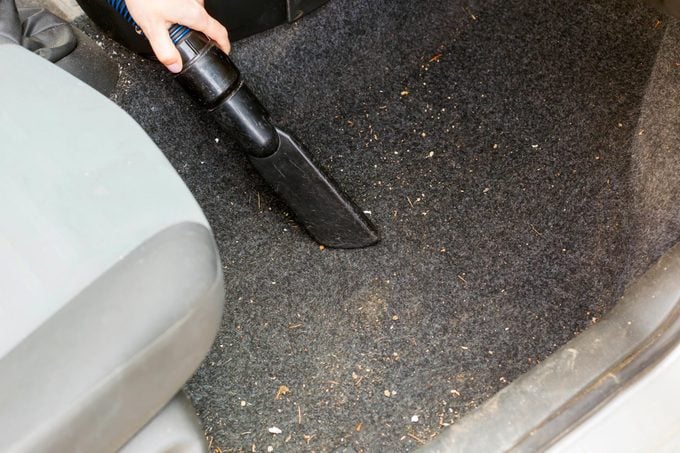
After vacuuming the seats, vacuum the floor of the car to remove dirt, crumbs, hair and other soils. If you’re using a full-size vacuum, a flexible hose attachment can help you reach tight spaces, like the area under the front seats. Before vacuuming, take a quick look at the floors, and remove any small items you may have missed in Step 1, like chargers or loose change, that can get stuck in the vacuum and damage it.
Step 8: Spot-treat and vacuum mats
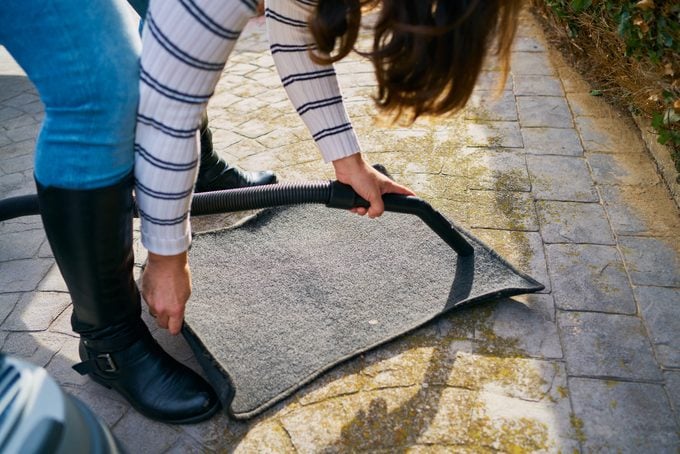
If you applied a carpet and upholstery cleaner to the floor mats, go over the area with a clean rag dampened with water to remove both stains and residue left behind from the stain remover; stubborn or deeply set-in stains may require a second pass with the cleaner. Then vacuum the mats thoroughly, and return them to the car.
Rubber mats can be deep-cleaned, if needed, by hosing them off or wiping them with a rubber-safe cleaning agent and a rag. Otherwise, simply shake them to dislodge dirt, crumbs, hair and whatever else might be littering your mat.
Step 9: Polish the windows
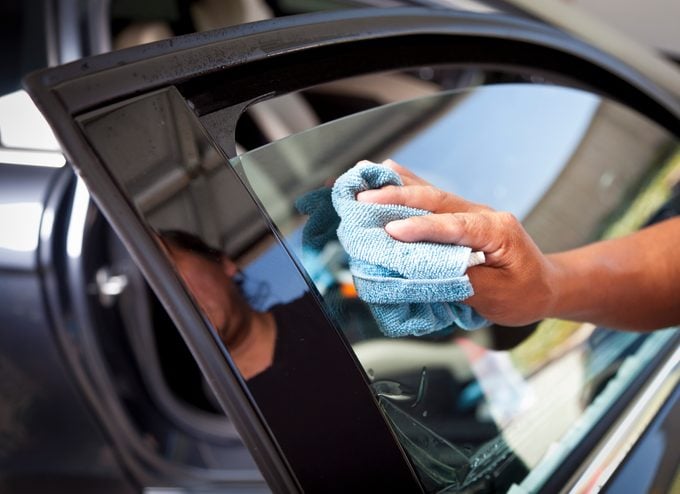
Use a clean microfiber cloth to polish the windows and remove any fingerprints or streaks. If you frequently transport pets or small children who leave smudges and smears on the windows, spray glass cleaner on the microfiber cloth and then use it to clean the glass more thoroughly.
Step 10: Return items to the car or your home
Return any items you removed from the car that belong there, like emergency kits, chargers and spare grocery totes. Dispose of the trash bag. Then bring anything that you removed from the car inside and return it to its proper home.
How often should you clean your car?
There is no hard-and-fast rule about how often to clean the interior of your car, but a good general guideline is once a month. That said, it really depends on your particular circumstances, because the way we use our cars varies so greatly—a naturally tidy person who uses her car primarily to drive to and from work will not need to clean as often as someone with five children who are in and out of the car on their way to school, sports, sleepovers and so on. Pet parents, too, will need to clean the interior of the car more often to keep hair and odors from taking over.
Cars with multiple passengers, especially furry riders, may benefit from a weekly cleaning. Fastidious drivers who don’t allow food, pets or other people in their cars may only need to clean their car’s interior on a quarterly basis. And, of course, this car-interior cleaning routine can be performed on an ad hoc basis as needed, rather than on a scheduled timeline.
How to keep your car’s interior clean
Small changes and clever purchases can help keep your car interior cleaner for longer. Here are some things to consider:
- Make a “no food or drinks in the car” rule.
- Place a small trashcan in the car—there are trashcans for the car designed to fit on the console, or clip to a seat back—or keep trash bags handy in the glove box or door pocket for quick cleanup.
- Keep pre-moistened wipes in the car to address spills or sticky hands as they happen.
- Stash a quick cleaning kit with basics like paper towels, car-interior cleaning spray and microfiber cloths in the trunk or backseat.
- Open the windows as often as possible to allow air to naturally freshen up the car.
Why trust us
At Reader’s Digest, we’re committed to producing high-quality content by writers with expertise and experience in their field in consultation with relevant, qualified experts. For this piece, longtime cleaning writer Jolie Kerr, author of My Boyfriend Barfed in My Handbag … and Other Things You Can’t Ask Martha, tapped her extensive experience as a cleaning expert, and then Ann Russell, TikTok’s “cleaning auntie” and the author of How to Clean Everything, gave it a rigorous review to ensure that all information is accurate and offers the best possible advice to readers. We verify all facts and data, back them with credible sourcing and revisit them over time to ensure they remain accurate and up to date. Read more about our team, our contributors and our editorial policies.


Originally Published: April 23, 2021