

How to Clean a Bathroom from Top to Bottom

Updated: Apr. 18, 2024

Nobody loves scrubbing the bathroom, but with cleaning expert Melissa Maker's step-by-step guide, you can simplify the process and save time
Bathrooms present no shortage of cleaning challenges. There’s pink slime that keeps coming back no matter how often you scrub it away. There are hard-water stains that seem nearly impossible to remove. And let’s not forget those splashes of toothpaste, bodily fluids, cosmetics, hair products and soapy water. Add in the fact that the higher moisture content in the bathroom—thanks to steamy showers—creates an environment for mold, mildew and germs to thrive, it should be fairly obvious that you really need to know how to clean a bathroom.
If you find this job time-consuming, unenjoyable or challenging, you’ve come to the right place. I’m sharing my ultimate guide to cleaning a bathroom. As a bona fide cleaning expert with more than 17 years of experience running a cleaning company, I have cleaned many, many bathrooms. And as the more than 2 million subscribers to my YouTube channel know, I’m always looking for ways to save time and get better results. Remember, in the cleaning business, time is money, and results secure repeat customers, so it quite literally paid for me to figure this out. And now I’m sharing my best practices and some professional tips with you.
We use our bathrooms multiple times daily, and the more people use them, the messier they get. But once you know the system for how to clean a bathroom, the once-daunting chore will become much more manageable. It is, in fact, a task you can conquer.
Get Reader’s Digest’s Read Up newsletter for more cleaning, humor, travel, tech and fun facts all week long.
| Reviewed for accuracy by: Ann Russell, TikTok’s “cleaning auntie” and the author of How to Clean Everything. |
How often you should clean your bathroom
Before you worry about exactly how to clean a bathroom, add it to your regular cleaning schedule so you can be certain you’re scrubbing it often enough.
One thing to keep in mind is that there’s a difference between maintenance cleanings and deep cleanings. Here’s how often you should be doing each:
- Maintenance cleanings: At least once a week
- Deep cleanings: At least once every two weeks
To decide what cadence works best for deep cleanings, consider how many people use the space and how frequently it’s used. A basement bathroom may need less attention than the main family bathroom on the upper level.
Between these more thorough cleanings, take a minute or so each day to do an in-between clean: Replace items you’ve run out of, wipe up splatters and perhaps sweep, vacuum or mop the floor. The better you maintain the space (think of this as the clean-as-you-go approach), the less heavy-duty work you’ll need to do for those bigger cleans—and the faster the deep-cleaning process will be.
Bathroom-cleaning tips
There’s a lot to dip into here, but let’s start with some general best practices to tackle this space for an efficient and effective deep cleaning.
1. Gather your supplies and tools
Save time by collecting your cleaning products, placing them in a cleaning caddy and bringing them into the bathroom. I load up my cleaning caddy with everything I’ll need for the job and head over to the space. That way, all my required items are sitting outside the bathroom door, and I can access them at any time without wasting a moment.
The other benefit of using a cleaning caddy is that it keeps everything contained and prevents product rings from forming on surfaces or the floor.
2. Remove items from every surface
People always ask me what the first step to cleaning a bathroom is, and my answer is simple: Take everything off every surface.
Bathrooms are small, collect a lot of dust and trap moisture. You can’t simply work around items and expect to get sparkling results. To clean all the tight and hidden corners in this small yet busy space, you need to first remove all items from the surfaces and floors you intend to clean. Place everything outside the bathroom door so that you have ample space to move freely and are not tripping over anything.
3. Pretreat stained and dirty areas
As a self-proclaimed lazy cleaner who loves good results, I lean into pretreating with all my might. Simply apply the right product to a surface and ensure it’s wet. That way, it won’t dry within minutes. Allow the product to penetrate the dirt and do its job. By the time you circle back to that space, the cleaning product will have done the heavy lifting for you, making your job easier and getting you better results.
4. Work from top to bottom and left to right
This is general cleaning advice you can use in any room, and it’s going to save you a lot of time. Work from top to bottom so any dust you stir up lands on dirty surfaces instead of clean ones. After all, dust is subject to gravity. If you clean the counter first and then tackle the dusty mirror just above it, you’ll have to repeat your work.
As for the left-to-right tip? The pros do this, and we do it for a good reason: Working from left to right ensures you don’t miss an area and keeps you on track.
Supplies you’ll need
To kick off your cleaning, ensure you have the right supplies. I always say that having the best products and tools to do the job makes your job easier—you don’t have to work as hard because these items do the heavy lifting for you.
Now, you likely won’t need all of these at once. But keeping them on hand ensures you’ll have what you need no matter what cleaning challenges your bathroom presents.
- Cleaning caddy
- All-purpose cleaner
- Toilet bowl cleaner
- Tub and tile cleaner (you can opt for a spray, a foam or a cream cleaner—pick a product that makes the most sense for the finishes you have in your bathroom; I like CLR Brilliant Bath)
- Glass cleaner
- Disinfectant
- Enzyme cleaner (I like Biokleen Bac-Out)
- Baking soda
- Double-sided nonabrasive sponge
- Cleaning toothbrush
- Rubber gloves
- Vacuum
- Flat-head mop and mop pads
- Microfiber cloths
- Flat microfiber cloths for glass cleaning
- Paper towels
You may encounter a cleaning issue that requires a specialty product or tool (for example, if you need to tackle grout cleaning), but this should get a basic bathroom cleaning done for you.
How to clean the bathroom
When I tackle the bathroom, I am methodical, like a pilot or a surgeon. While the work is certainly less serious and life-altering, it’s just as important to follow a routine and use consistent methods that will become rote and allow you to perform without error.
As mentioned above, start by removing everything from the surfaces and floor of the bathroom to free up space. Once that’s done, follow the steps below—in order—working from top to bottom.
1. Pretreat surfaces
One funky thing I (and most cleaning pros) do that saves time is to pretreat all surfaces before beginning to clean. That means I follow the steps below with the cleaning products alone. Only then do I come back to this list of tasks and work down the line, scrubbing the surfaces.
Why bother with this step? It’ll actually save you time! Liberally spraying the cleaning product and allowing it to sit gives it adequate time to break down dirt, odors and all sorts of stains. By the time you are ready to scrub the area, it’s easier work.
So while each step of this bathroom-cleaning guide begins with an instruction to spray the surface, my overall suggestion is to spray all areas (aside from the floors) before you start your high dusting—most of your bathroom surfaces should be drenched by the time you start cleaning.
| ♦ Pro tip |
| Set a stopwatch and record how long it takes you to complete a full bathroom cleaning. The next time you tackle the bathroom, see where you can shave off a few minutes. This helps keep you on task and mindful of your moves. You’ll save time and get those great pro results efficiently and proficiently. |
2. Dust light fixtures, corners and door frames
Dust accumulates in the bathroom and tends to get a little sticky if left for too long because it mixes with cosmetics, hair products, moisture and more. For this reason, stay on top of dust in the bathroom, and look in the sneaky spots: up high and down low.
Your first order of business is to tackle what I call high dusting—dusting areas toward the top of your bathroom. To do this, you need a flat-head mop. I’m biased, of course, but my go-to is my Maker’s Mop, which is curved and nicely gets into corners and on top of door frames. But my brand’s mop isn’t the only flat option; you could use a Swiffer or similar tool too.
Here’s how to dust high surfaces:
- Nestle the curve of the mop into the ceiling corner and slowly slide the padded mop across.
- Lower it to the top of the door frame.
- Continue along the ceiling until you’ve completed a full “circle.”
- Turn the lights off and allow the bulbs to cool.
- Once the bulbs are cool, use a dry microfiber cloth to dust the light fixtures. You may require a stepladder to do this part.
| ♦ Pro tip |
| Clean the bathroom fan a few times a year. This fixture is designed to suck moisture out of the bathroom, which means the space is a less hospitable environment for mold and mildew. If dust clogs the fan blades and cover, the fan becomes noisy and can’t do its job as easily. |
3. Clean the bathroom mirror
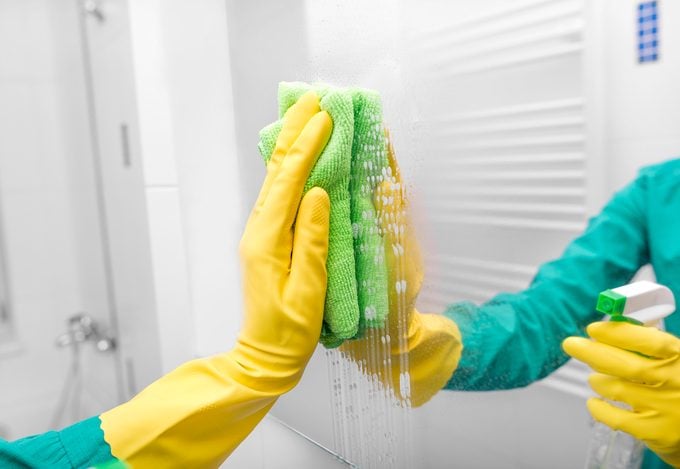
The easiest way to clean a mirror is to spray it down liberally with glass cleaner and then use a flat microfiber cloth, folded into quarters, to create an S pattern over the mirror. The S pattern cleaning method works like this:
- Place your folded microfiber cloth in the top right corner of the mirror.
- Swipe your cloth to the top left corner.
- Zig slightly down and back toward the right.
- Wipe back toward the left.
- Follow this right-to-left pattern, creating an S whose lines slightly overlap each time.
Why overlap the lines each time you cross the mirror? It helps to reduce streaking, ensures full coverage of the mirror and is the most efficient way to clean a horizontal or vertical surface.
| ♦ Pro tip |
| If you encounter hairspray or anything sticky on the mirror, apply a little rubbing alcohol to the sticky spot by spraying it on (or wiping it on with a cotton ball) and then rubbing it off. Rubbing alcohol is a solvent and will help dissolve the buildup. |
4. Clean painted walls
Bathroom walls can get sticky and splashed with all kinds of substances. While you don’t need to clean them every time you clean your bathroom, make a point of including this step once a month. At the very least, spot-clean your walls between bigger cleans.
The trick to cleaning your walls is to take a two-step approach: First, dust them while they’re dry; next, wipe them while they’re wet.
Dust the walls
Start by cleaning your dry walls to remove dust and other debris. Either vacuum them with a brush attachment or use a dry flat-head mop and long, consistent strokes as you move across the wall.
Wash the walls
The most important step when it comes to washing your walls is to make sure the paint can handle a wet cleaning. Generally speaking, bathroom paint is a semi-gloss, making it durable and easy to clean. Still, spot-test all the products and methods in a small, hidden corner before you proceed.
If your spot test didn’t show any issues, it’s time to scrub those walls.
- Mix 1 tablespoon of dish soap and 1 quart of warm water.
- Spray your homemade cleaning solution onto the walls.
- Use a flat-head mop and a clean mop pad to clean the walls in an up-and-down motion.
You can do this task by hand with a cloth, but I find the flat-head mop method is more efficient.
Tackle stains
A few professional tricks will help you eliminate any stubborn spots you may run into:
- Add a little rubbing alcohol to a cloth and buff away stains.
- Sprinkle a pinch of baking soda on a damp sponge, gently rub the area until the spot is gone and then wipe the area clean with a damp cloth.
- Dampen a melamine sponge and rub it over heavily soiled areas to erase the stain, then wipe the area with a damp cloth.
5. Clean the bathroom counter or vanity
This area is easy to clean because it is clear of all items—or should be! By now, you should have removed items from all surfaces in your bathroom and sprayed the counters with an all-purpose cleaner. If you’ve followed my pretreating advice, that cleaner has been sitting for a moment or two.
So what’s the best product to use when cleaning your countertops? Choose something that’s safe for the surface you are cleaning. For instance, my countertops are made from marble and quartz, so I use a simple all-purpose cleaner. It’s easy to make:
- Fill a spray bottle with 2 cups of water.
- Add 1/2 teaspoon of dish soap.
- Shake to mix.
Once the cleaner has had time to soak and break down grimy buildup, take a microfiber cloth and wipe the countertop, section by section, working your way from top to bottom and sweeping any debris to the floor. Your counter should look consistent in its finish and free of any buildup when your cleaning is complete.
| ♦ Pro tip |
| If you spot a stubborn stain, spray it with the all-purpose cleaner. Allow the cleaner to sit while you tackle the sink (coming next!), wiping it up before you move on to the shower, tub and tiles. |
6. Clean the bathroom sink and faucet
Begin by spraying the sink and faucet with an all-purpose cleaner. Remember to choose a product that’s safe for the type of metal your faucet is made of. From there, tackle each fixture.
Wipe down the faucet
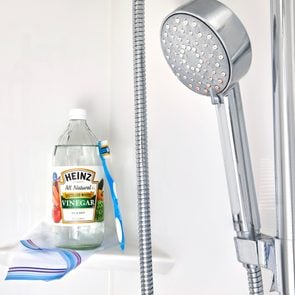
Start by tackling any hard-water stains or buildup. Use a microfiber cloth dipped in white vinegar to polish the faucet and handles. If there are any crusty areas, you can agitate them with a small cleaning toothbrush and some extra all-purpose cleaner. Then wipe the faucet clean with a dampened microfiber cloth.
Wash the sink
When cleaning a sink, I top the all-purpose cleaner with a bit of baking soda to add abrasion and polish the sink and drain. If it needs a heavier product, I use a sprinkle of Barkeeper’s Friend. After that has sat for a moment, I’ll use a nonabrasive sponge to scrub the sink. I finish by rinsing the sink and polishing it with a microfiber cloth.
7. Scrub dingy grout
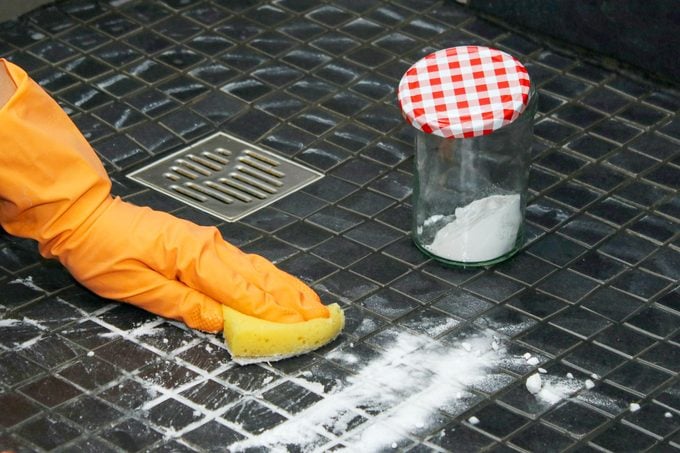
If the grout in your shower or tub is noticeably dark, clean it before moving on to the rest of the tiles and tub. Here’s how to brighten dingy grout:
- In a small bowl, mix three parts baking soda and one part hydrogen peroxide into a paste.
- Apply the paste to the affected grout lines using a sponge or a cleaning toothbrush.
- Allow it to sit for five to ten minutes.
- Scrub with an iron-handled scrub brush.
- Rinse well.
Consider sealing your grout too. You can do this once or twice a year, and it’ll make a big difference in keeping the color consistent and the grout free of mildew.
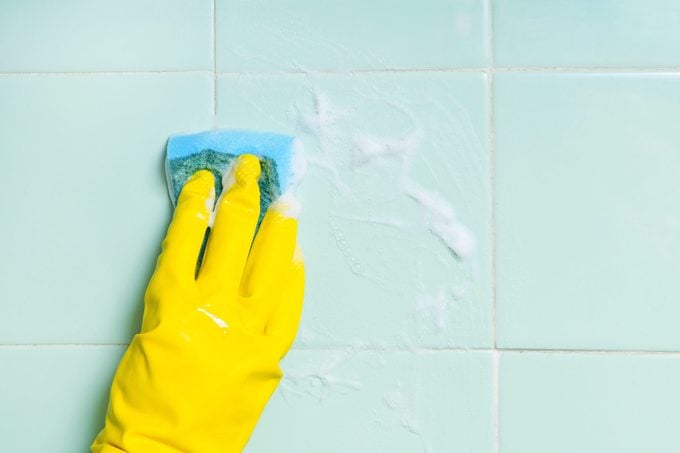
8. Clean the shower, tub and tiles
Want to make this part of the cleaning process quicker and easier? The best thing you can do in your bathroom is turn on the exhaust fan while you are bathing and let it run for at least 30 minutes after to help remove moisture. Another must: Use a squeegee on the glass shower doors and tile walls, as well as the tub or shower floor itself.
Follow the tips above, and there will be no residual moisture left behind to allow for mildew, mold, hard-water mineral deposits or soap scum residue—the most common cleaning challenges you’ll find in this area of the bathroom. Though these issues pose distinct obstacles, certain products tackle all of them in one fell swoop.
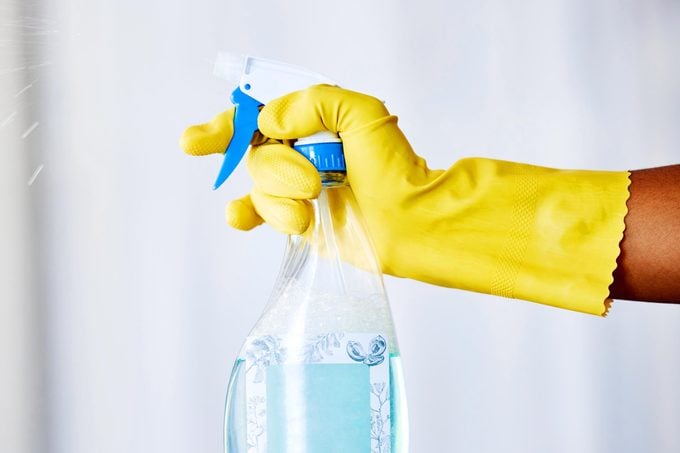
As with other areas of the bathroom, you’ll start by spraying down the shower or bath tiles and glass, allowing the product to sit, wet, on the surface for at least five minutes. I like using a thicker product: The DIY version consists of adding equal parts dish soap and white vinegar to a clean spray bottle, but you can also use a store-bought product like CLR Brilliant Bath. Always ensure your chosen product is safe for the surface you plan to clean.
Once the product has had time to pretreat the area, follow these steps:
- Use a sponge to scrub an S pattern into the surface and remove buildup, working section by section.
- Once all sections are clean, move to the bathtub or floor of the shower. (By doing this, you avoid working on a slippery floor.)
- Repeat the same spraying and scrubbing steps.
- Use the handheld showerhead to rinse the walls and floor. (If you don’t have one, you can use a Rinseroo or a jug instead.)
- Clean the faucet using a microfiber cloth dipped in white vinegar.
- Wipe everything down with a dry microfiber cloth to get that perfect shine.
If you have mold in the shower, complete the steps above and then apply a product like Concrobium to the affected areas. Allow it to sit overnight, then scrub it off and re-treat the area with the product for a protective coating.
9. Clean the toilet

The toilet has three key components to consider when cleaning: the throne exterior, the bowl and the surrounding area. Each requires a separate product to achieve the best results.
When I clean a toilet, I apply products to the exterior and the bowl and fully clean them first. Only then do I treat and clean the surrounding area. There’s a reason for that: I need to stand or crouch to do the first part of the job. Waiting to clean the rest of the toilet area reduces my risk of slipping and sliding while cleaning.
Throne exterior
First, liberally spray the tank, flusher, lid, seat, rim and toilet base with a bathroom cleaner like CLR Brilliant Bath or a disinfecting bathroom cleaner.
Let the spray sit while you coat the toilet bowl with cleaner (more on that in the step below). While the toilet bowl cleaner does its job, take a paper towel and wipe each section of the toilet exterior clean, tossing the towel once it becomes too wet.
Toilet bowl
After spraying the throne exterior—but before you wipe it clean—squirt toilet bowl cleaner into the bowl by placing the pointed nozzle of the bottle right under the rim and slowly moving it around the rim for full coverage. Allow this to sit for at least five minutes.
When the five minutes are up, use the toilet bowl brush to scrub under the rim, slowly circling down and around the bowl until you get to the chute. Pump the brush in the chute a few times. Flush and place the brush under the toilet bowl lid to drip-dry.
Area surrounding the toilet
Finally, tackle the surrounding area. Use an enzyme-based cleaner, such as Biokleen Bac-Out, and spray the area surrounding the toilet: the walls, baseboards and tiles. This will help break down odors from urine splashes.
After five minutes, use a paper towel to wipe clean the baseboards, walls and tiles.
10. Clean high-contact points
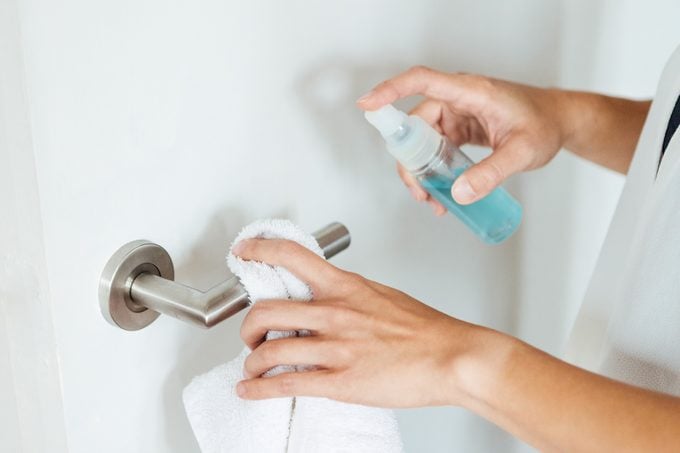
To keep the bathroom a healthier space, you need to clean points of contact—those frequently touched areas that therefore have higher concentrations of germs. I’ve purposefully left this step for later in the process: You need to be strategic about how to clean a bathroom, and before you disinfect, you have to clean all the key bathroom surfaces.
Use the following method to disinfect high-contact points:
- Spray your disinfectant of choice onto your faucets, door knobs, handles and other points of contact. (Make sure the product you choose is safe for your bathroom finishes!)
- For light switches and light switch plates, use a cloth treated with disinfectant to apply the product instead of spraying directly onto the light switch or plate.
- Allow the product to sit for the amount of time prescribed on the package instructions. Most disinfectants need to sit wet on a surface for three to ten minutes, meaning you’ll have to spray the product on liberally enough that it doesn’t dry. In some cases, you’ll wipe the product away; in other cases, you’ll allow the product to dry fully.
Let your faucets, door knobs, handles and other points of contact get this disinfectant treatment while you carry on with cleaning. You can come back to give them a final wipe-down toward the end of your bathroom-cleaning routine. Set a timer, so you don’t forget.
11. Wipe and replace all toiletries and decorative items
Now that the countertop or vanity is clean, it’s time to start wiping and replacing items. Since many of these products are sticky or oily, wiping down the containers helps prevent dust from building up and sticking to those surfaces.
Spray a microfiber cloth with a bit of all-purpose cleaner and wipe the surface of each product before lining it up neatly on the countertop. Don’t forget to wipe the bottom of each container, not just the top and sides! Skip that step, and you could get little product rings left everywhere.
I like to clean these items over the floor so that dust or debris falls there instead of onto the freshly cleaned countertop. This is a good time to assess how much product is left; put those almost-empty containers at the front of your lineup so you can use them first.
12. Wash and change towels and bathroom rugs
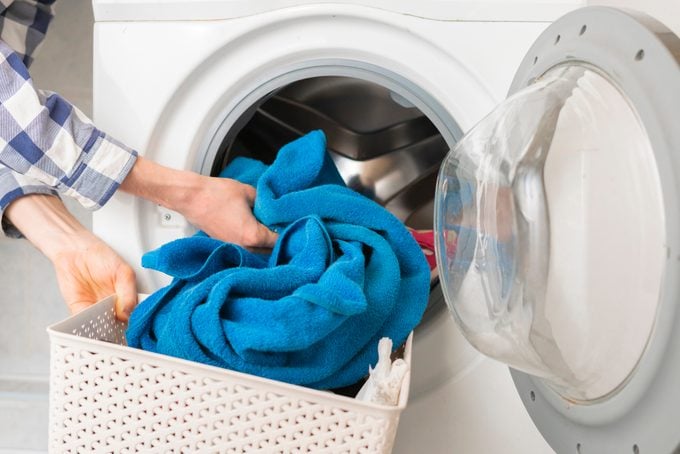
You should change your bathroom towels twice weekly and spread them open to dry on a towel rack after use. When left damp, they can start to become stinky from mildew.
You can use (and air-dry) face cloths a few times, but you need to change them out several times a week. I use one per day, placing it in the laundry pile when I’m done.
Bathroom rugs are veritable sponges for dead skin cells, fallen products, hair, splashes of pee and more. Trust me, these fuzzy rectangles must be laundered regularly so they don’t unnecessarily keep odors and germs in the bathroom. Launder these items together using the “towel” setting on your washing machine, regular detergent and a fabric rinse like Downy Rinse and Refresh to help remove odors and product buildup.
13. Empty the trash
Here’s a simple one: Empty the trash and replace the bin liner if you use one. If not, quickly inspect the bin and see if it needs a little wipe-down. To clean it, spray it with an all-purpose cleaner and allow the product to sit. After a few moments, wipe it clean with a paper towel.
If your trash bin needs more cleaning, sprinkle some baking soda in there along with the all-purpose cleaner—this will add extra abrasion and help deodorize it. After a few moments, scrub it with a sponge, rinse well and allow it to dry.
| ♦ Pro tip |
| Rinse your dirty trash can in another part of the house—perhaps in the laundry room sink—so you don’t mess up the bathroom sink you’ve just cleaned. |
14. Clean the floors and baseboards
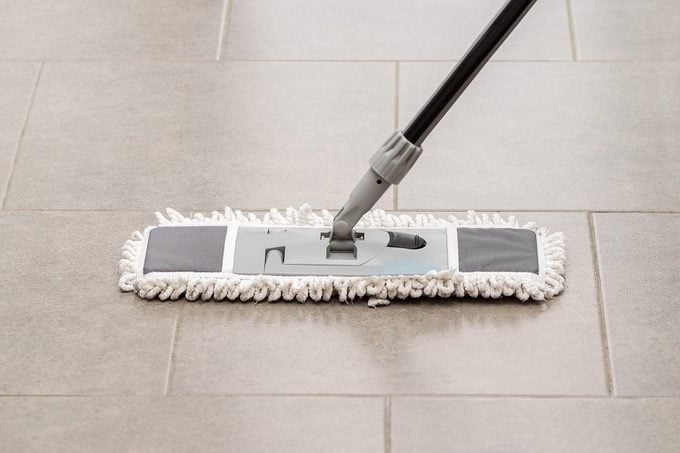
This is the final job for this tiny space, and there are a couple of ways to do it. You can use a vacuum and mop if you like, but I tend to take a different approach. I call it the Cinderella method:
- Once I’m done with the cleaning cloths I’ve used to clean the counters and sinks, I toss them onto the floor.
- I grab one of the damp cloths and, starting at the back corner of the bathroom, work section by section to wipe the baseboards and floors clean by hand.
- I wipe the baseboards first. If they are super dusty, I’ll begin with a dry wipe so that nothing sticks to the baseboard when I use a wet cloth.
- Next, I move to the floor. I use an S pattern, moving corner to corner and scooping all debris with me as I swoop down the bathroom floor.
I choose this method over mopping and vacuuming because it allows me to get into those nooks and crannies where hair, debris and sneaky stains can hang out (looking at you, crusty toothpaste). That said, I only do this when giving the bathroom a deep cleaning; for in-between cleanings, I vacuum and mop the floors. But for a small space like a bathroom, the deep-cleaning Cinderella method isn’t all that bad! By the time you get to the door, the floors will be spotless.
And now you know how to clean a bathroom like a pro. The next time you tackle this cleaning project, remember to follow these steps and time-saving secrets—you’ll no doubt notice the difference!
Why trust us
At Reader’s Digest, we’re committed to producing high-quality content by writers with expertise and experience in their field in consultation with relevant, qualified experts. For this piece, Melissa Maker, the cleaning expert behind the popular website and YouTube channel Clean My Space and the founder of a Toronto-based cleaning company, tapped her experience as a cleaning expert, and then Ann Russell, TikTok’s “cleaning auntie” and the author of How to Clean Everything, gave it a rigorous review to ensure that all information is accurate and offers the best possible advice to readers. We verified all facts and data and backed them with credible sourcing, and we will revisit them over time to ensure they remain accurate and up to date. Read more about our team, our contributors and our editorial policies.

Originally Published: February 13, 2024