

A Step-By-Step Guide to Mastering the Waterfall Braid

Updated: Jun. 27, 2022
Dressed up or dressed down, this timeless hairstyle is a quick and easy go-to for any occasion, from beach days to weddings.
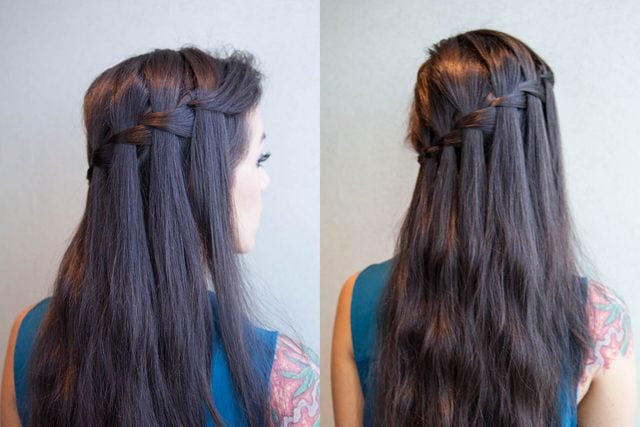
The beauty of the waterfall braid
Whether you’re looking for a way to tame your wild bedhead or add some volume to flat, unwashed hair, the waterfall braid is an easy-to-do upgrade that’s both elegant and chic. It also keeps pesky fly-aways slicked back and out of sight, which can seriously come in handy in the summer heat. To help you master this boho-luxe look sans the help of a professional, we turned to Joico celebrity stylist, Paul Norton, for step-by-step directions.
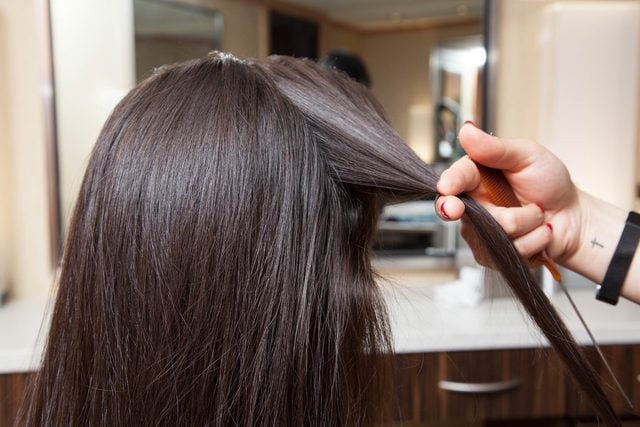
Step 1: Section and spray hair
First, work a mousse or styling gel into dry strands to help hold the braid you’re about to create. (If you just showered, make sure your hair is fully dry before beginning.) Part your hair, then take a section of hair on the heavier side of the part and spray it with hairspray, says Norton. You won’t have to spray the other side of the part since this hair will simply sit naturally. “Adding the hairspray to the side you’re braiding helps give the hair some added grip and control while you style and is the most important part of this making it easy to do at home.” In other words, to DIY without disaster, this prep work is essential.
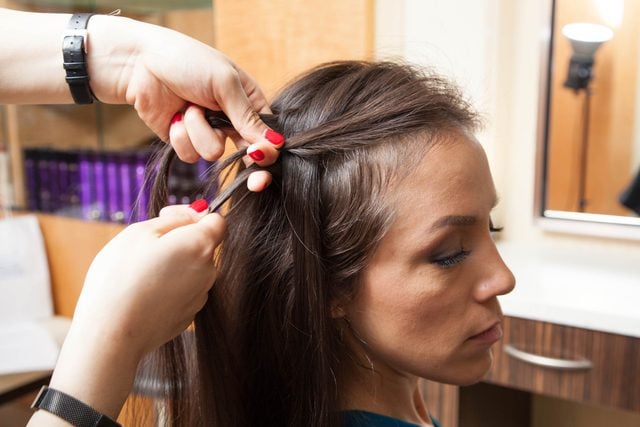
Step 2: Begin braiding
Next, divide the section of hair on the heavy side of the part into three smaller 1-inch sections as if you were starting a regular braid. Start the braid by crossing the strand closest to your part over the middle strand, and then crossing the bottom strand over the middle strand. This is the same as strategy as if you were starting a regular French braid. (Thanks to Jean Oh of the Nunzio Saviano Salon in White Plains, New York, for demonstrating how to style.)
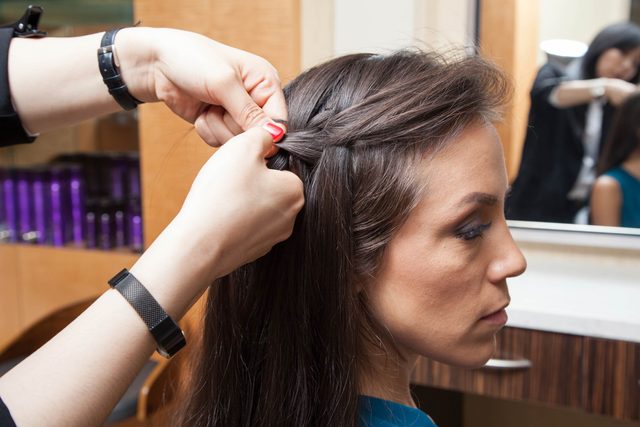
Step 3: Drop the middle strand
Continue crossing, now with the top strand over the new middle strand, but this time, instead of crossing the top strand over the middle strand, drop the middle strand down (like a waterfall) so that it blends in with the rest of your unbraided hair.

Step 4: Pick up a new middle strand
Now, when you go to take your next piece, take it from closer to your part. This strand will replace the strand you dropped and become your new top section. Cross this piece over the middle and continue the braiding pattern.

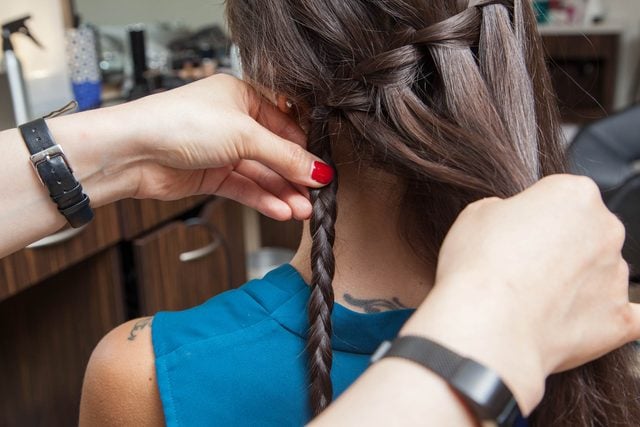
Step 5: Drop the front strand
Now, cross the back strand over and bring in hair per usual. The next cross-over, drop the front strand, instead bringing in a replacement strand. Continue braiding in this fashion until the braid reaches the back of the head.
Step 6: Finish the braid
Continue braiding the three strands down into a regular braid and pin it against the head. Lay hair over the top of the pin to hide it and then spray the midshaft and ends with more hairspray for a more modern look and feel. Norton suggests finishing with some Joico Flip Turn Volumizing Hair Spray to make sure it stays in place.

Step 7: Enjoy the compliments
The casual elegance of the waterfall braid can take you anywhere in style, from the beach or an outdoor wedding. Be sure to take lots of selfies!
Originally Published: July 22, 2017