


How to Clean Brass and Restore Its Shine

Updated: May 15, 2024
Restore your favorite items to their original luster with these expert-approved methods for cleaning brass
Brass is once again a favorite in kitchens and bathrooms. It works wonderfully as hardware, becoming the cherry on top of already stunning cabinetry. But what should you do if your gorgeous brass starts to tarnish? Like learning how to clean stainless steel, figuring out how to clean brass comes with its own set of challenges.
And yet completely tarnished brass isn’t ideal. While some aging in the form of a natural patina finish is OK, if your brass hardware, fixtures, faucets, lamps and flatware are seriously losing their luster, it’s time to step up your cleaning know-how and metal maintenance. In fact, brass is the sort of material that needs a routine cleaning, and it might be a good idea to work it into your cleaning schedule.
“Without proper care, brass can tarnish in just a few weeks,” says Kathy Cohoon, cleaning expert and operations manager at Two Maids. Though you might not need a daily cleaning checklist for brass, it’s good to have an idea of what routine you might need to expertly clean your kitchen and clean your bathroom. Fortunately, there are plenty of experts who know the right way to clean all kinds of brass, from the tools to use to the stuff to stay away from. (Hint: Brass can be one of those things you shouldn’t clean with water.) Here’s everything you need to know about how to clean brass, according to the pros.
Get Reader’s Digest’s Read Up newsletter for more cleaning, humor, travel, tech and fun facts all week long.
How often should you clean brass?
“Brass items should be dusted and buffed with a microfiber cloth once a week, and deep-cleaned every three months or so,” says Emily Barron, a cleaning expert at Property Rescue. “But you should avoid scrubbing your brass and cleaning more often than this, as it can actually cause tarnishing.”
So, how do you know it’s time to give your brass a clean? You’ll see the signs. “When the piece starts to haze up or discolor, it’s time to grab a soft cloth and cleaner,” says cleaning expert Jennifer Osterhout, founder of the site Everyday Old House. Brass pieces tarnish at different rates, depending on use. As Osterhout points out, the oils in your hands can make frequently touched brass discolor faster.
The state of your brass will determine just how in depth your cleaning needs to be. If the item possesses only a slight dullness, it likely needs a quick buff with polish. “However, if the item has been left to tarnish over the years, it may require a fair amount of elbow grease and more aggressive cleaners and polishers,” she says.
Do different brass finishes require different care?
Luckily, regardless of whether it has a brushed, antique, satin or other finish, most brass can be cleaned the same way. But—and this is critical—that’s not the case if your brass is plated (made from another metal with just a thin coating of brass). This type of fixture or hardware must be cleaned very gently with only warm, soapy water so as not to remove the layer of brass.
To check if an item is actually brass (and not plated), place a magnet against it. If the magnet doesn’t stick, it’s solid brass. But if it does, your fixture or hardware is plated brass, says Osterhout. “Approach cleaning brass-plated items cautiously,” she warns. “If the shine cannot be restored on plated brass through gentle cleaning, then you must learn to embrace the patina and history of the item.”
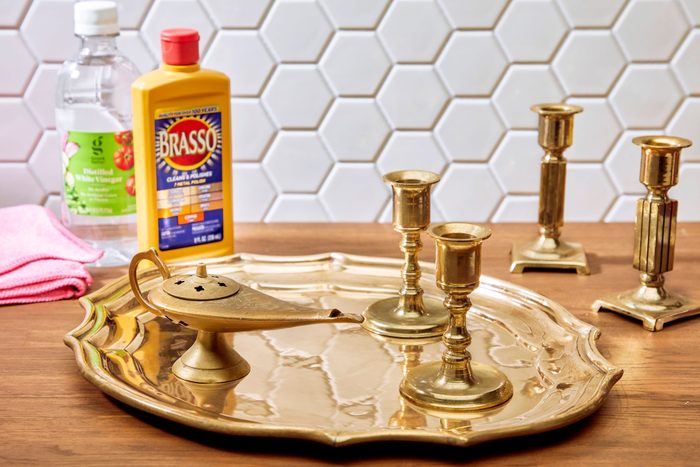
How to clean brass
You have a range of options when it comes to cleaning brass, from quick-and-easy, store-bought cleaners to homemade remedies that tend to be milder and better for the metal. As long as your item isn’t brass-plated, you can use any of these methods to polish up the brass in your house.
And while brass may not be one of those things you should clean every day, it requires frequent-enough cleanings that you may end up trying several of these methods. When it comes to learning how to clean brass hardware, feel free to find what works best for you!
How to clean brass with vinegar
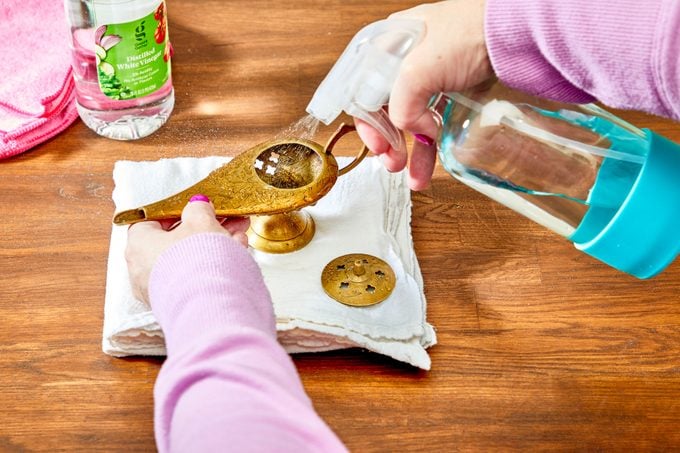
Supplies:
Directions:
Mix equal parts white vinegar and water in a spray bottle. Spray a few spritzes of the solution directly onto the brass item. Allow the solution to sit for eight to 10 minutes. Rinse with lukewarm water and buff dry with a microfiber cloth.
Pro tip: Use a timer
Cleaning brass hardware with vinegar is a simple and effective method. According to Mujtaba Khan, creator of the site Max Furnishing, experts love to use vinegar for a variety of reasons: It’s natural and safe, doesn’t easily damage brass and is inexpensive and environmentally friendly.
A vinegar-and-water combo is the best homemade brass cleaner, but be careful how you use it, because it can harm your brass. “Vinegar can damage brass if it’s exposed to brass over an extended period of time.” After using the vinegar, Khan says, rinse the brass thoroughly with water and dry it with a soft microfiber cleaning cloth to prevent any residual vinegar from damaging it. It’s good advice to heed whether you’re cleaning a faucet, lamp or any other item made of brass.
How to clean brass with lemon
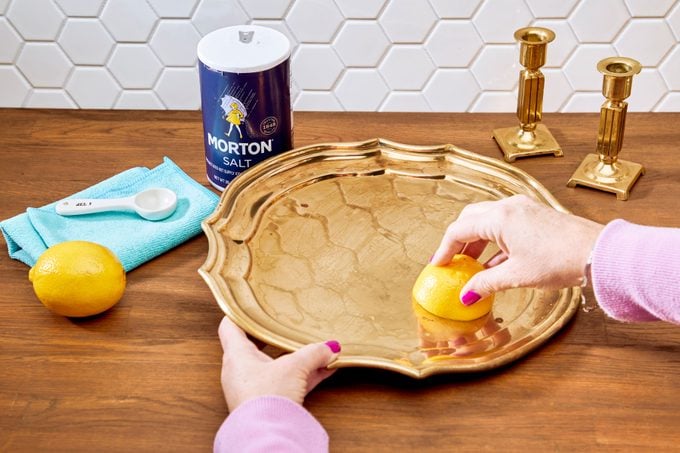
Supplies:
- 1 lemon
- 2 teaspoons table salt
- Microfiber cleaning cloth
Directions:
Cut a fresh lemon in half. Sprinkle a teaspoon of table salt onto each of the cut surfaces. Next, gently rub the lemon over the brass surface. Where possible, apply gentle pressure to the tarnished areas. Finally, rinse the brass thoroughly with water and dry it with a soft microfiber cleaning cloth.
Pro tip: Avoid intricate designs
The citric acid in lemon makes it a natural cleaner, says Khan, and the salt included in this cleaning method can provide an abrasive texture. That’s good news for most—but not all—brass items. “For best results, avoid using this method on brass objects with intricate designs or engravings, as the lemon and salt may be too harsh and cause damage to the delicate details,” he says.
How to clean brass by soaking it
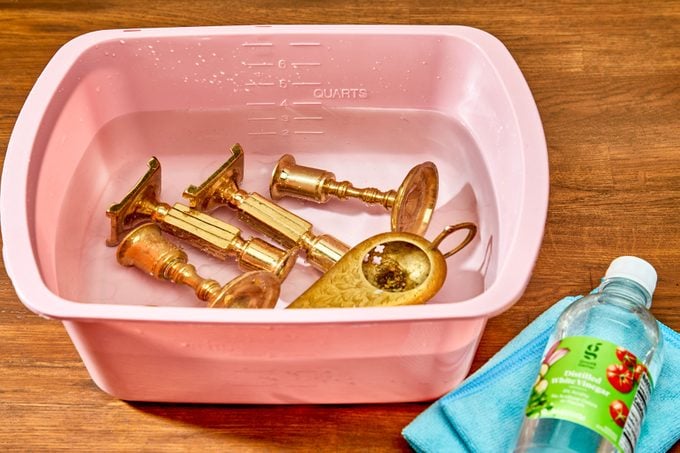
Supplies:
- Bowl large enough to contain your brass item
- White vinegar
- Microfiber cleaning cloth
Directions:
Place your brass object in a bowl or container large enough to hold it while submerged. Pour a solution of one part white vinegar and two parts warm water over the item. Allow for 15 to 30 minutes of soak time, depending on how tarnished the piece is. Next, remove the item and gently scrub it with a soft cloth. Rinse the brass thoroughly with water to remove any remaining vinegar residue. Use the microfiber cloth to gently dry the item.
Pro tip: Stick to vinegar
While you can use a variety of cleaning solutions to soak your brass, many of our experts recommend using water and white vinegar (avoid apple vinegar and other types). This solution is the gentlest for soaking; however, avoid soaking the item for longer than an hour, says Khan. Unlike treating red wine stains, soaking tarnished brass definitely isn’t an overnight affair.
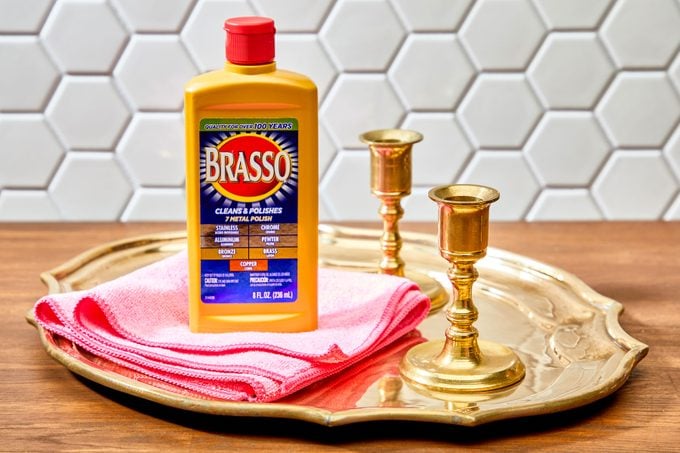
How to clean brass with brass cleaner
Supplies:
Directions:
According to Khan, you can choose from a variety of brass cleaners. But the key is looking for “the one cleaner that is specifically formulated for your type of brass and the type of tarnish you are trying to remove,” he says. “Many brass cleaners are available commercially, and some are designed for use on specific types of brass, such as antique or high-shine brass.”
To get rid of grime with a brass cleaner, start by removing any excess dirt with a soft cloth. Apply the brass cleaner, but be careful to follow the manufacturer’s instructions. For some solutions, you’ll need to work into the tarnish with a soft brush or cloth.
“Next, allow the brass cleaner to sit on the brass surface for the time specified in the manufacturer’s instructions. This waiting time is usually five to 15 minutes, depending on the strength of the cleaner,” Khan says. Use a soft microfiber cloth to restore shine and prevent water spots.
Pro tip: Follow the manufacturer’s instructions
It may seem obvious, but this is something many people miss. Every commercial brass cleaner is different, says Khan, so following the instructions is vital if you want to avoid unnecessarily damaging your brass.
The best brass cleaners
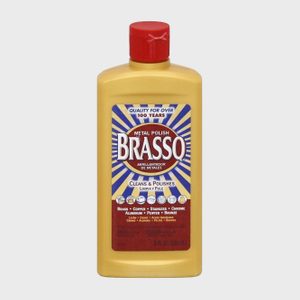
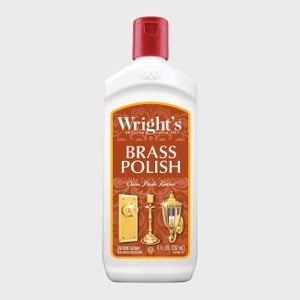
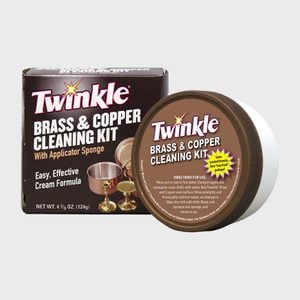
Khan’s favorite brass cleaners include: Brasso, Wright’s Brass Polish and Twinkle Brass Cleaner. Brasso, available in many hardware stores, comes in a liquid or cream formula. Wright’s Brass Polish is gentle yet effective and comes in a cream formula. And finally, Twinkle Brass Cleaner cleans brass the fastest and is easy to use.
Can you clean badly tarnished brass?
“Even the most badly oxidized brass is worth a shot,” says Cohoon. But every brass object is different, as is the extent of the tarnish. So you’ll have to find what works best for your particular item. “If there is still damage,” says Cohoon, “use a heavy-duty brass cleaner, and follow the manufacturer’s directions.”
Despite the best cleaning tips, you may not be able to remove all tarnish. But that’s not to say your item is doomed to stay tarnished forever. “In these cases, it may be best to consult a professional for cleaning advice or to have the brass professionally cleaned and restored,” says Khan. The pros may have more solutions for how to clean brass—and keep it permanently shiny—because they have access to remedies you can’t buy over the counter.
Mistakes to avoid when cleaning brass
According to our experts, there are a few mistakes to avoid while cleaning brass.
- Using bleach or other cleaners that aren’t meant for brass—save those for cleaning the bathtub
- Cleaning brass-plated items as if they were solid brass
- Scrubbing too hard and thereby removing the item’s protective coating
- Drying brass with paper towels, which can scratch and damage the material
- Soaking your item for too long
- Ignoring the manufacturer’s instructions when it comes to commercial brass cleaners
- Not drying thoroughly after rinsing the brass
Ready to make the rest of your house as bright and shiny as your brass? You might as well learn how to clean silver and copper hardware, then move on to the germiest place in the house: the stainless steel sink in your kitchen.
Sources:
- Kathy Cohoon, cleaning expert and operations manager at Two Maids
- Emily Barron, cleaning expert at Property Rescue
- Jennifer Osterhout, cleaning expert and founder of Everyday Old House
- Mujtaba Khan, creator of Max Furnishing
Originally Published: March 21, 2023