

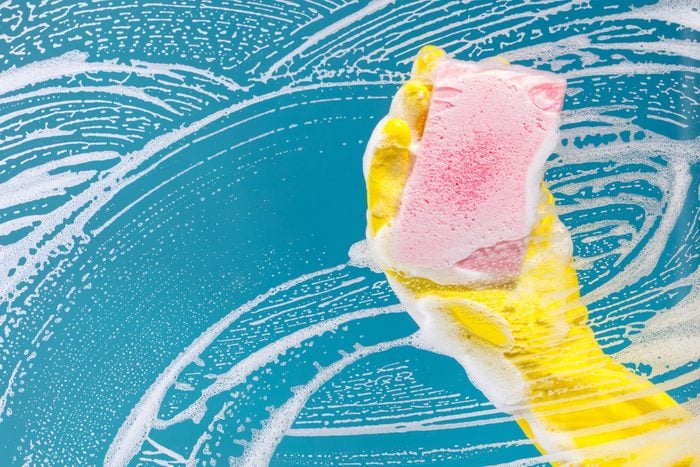
The 13 Dirtiest Spots in Your House—and How to Clean Them

Updated: Apr. 15, 2024
There's dirt and grime lurking around every corner, but which places in the home are the dirtiest? Here's what the experts say about cleaning these overlooked areas.
When it comes to cleaning places in the home, the spots that are forgotten tend to be harder to reach, germier to deal with and more time consuming to work on. They’re not added to our daily cleaning checklist (or our less ambitious monthly cleaning schedule), and as a result, they get dirtier and dirtier. We know how to clean the basics and do our laundry, but some of the most overlooked places in the home need a little extra TLC.
That’s why we asked cleaning pros to identify the germiest spots in the home and share their expert tips for keeping those areas white-glove clean. Here’s what they had to say.
Get Reader’s Digest’s Read Up newsletter for humor, cleaning, travel, tech and fun facts all week long.
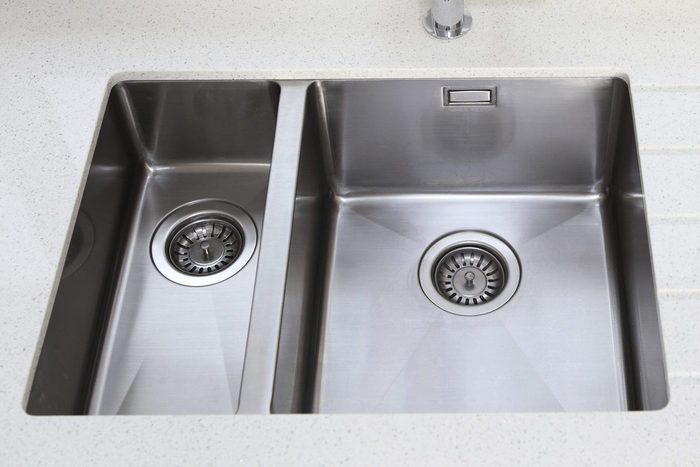
Kitchen sink
According to a study by the National Sanitation Foundation, the kitchen sink has the second-highest concentration of microorganisms in the house. (The sponge is first, so make sure you’re cleaning your kitchen sponge.) Considering the food-prep odds and ends that pass through the sink, it’s easy to see why.
How to clean it: Daily, you’ll want to wash the sink (strainers, sides and bottom) with a solution of dish detergent and warm water. Once or twice a week, clean the kitchen sink using a disinfecting cleaner or a mild solution of bleach and water (1/3 cup of bleach to 1 gallon of water). Allow the solution to sit on the surface for one minute to give it time to kill the germs. Rinse and let it air-dry.
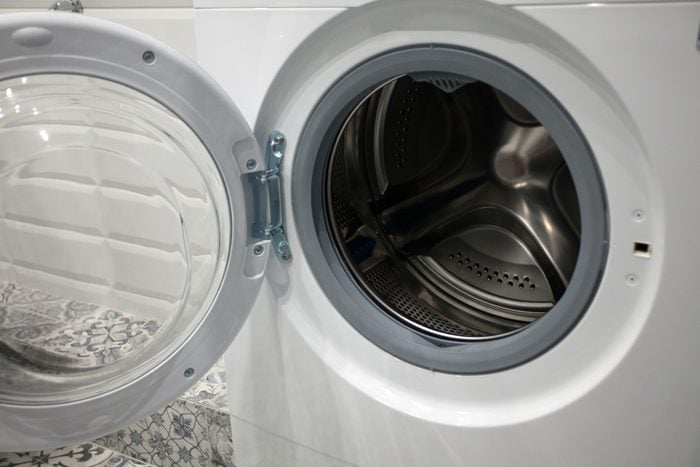
Washing machine
If you’re doing laundry often, you might notice a stench in the washing machine. A buildup of odor-causing residues stuck in the drum is probably to blame, says Clorox’s in-house scientist and cleaning expert Mary Gagliardi. If left untouched, these residues can transfer odors onto your clothes too. And if it’s not properly maintained, you could be shortening the lifespan of your washing machine.
How to clean it: You have some options, says Gagliardi, also known as “Dr. Laundry.” She recommends running a bleach clean-out cycle once a month with Clorox Bleach. Start with an empty washer, fill the bleach dispenser to the max-fill line and select the heavy-duty cycle, hot water and an extra rinse (or manually run an extra rinse cycle). Then, start the washer. You can also use your machine’s cleaning cycle and a product like Tide Washing Machine Cleaner, says Jennifer Ahoni, the principal scientist for Tide and Downy fabric care.
If you have a front-loading machine, be sure to wipe down the rubber door seal every now and then to remove residue. And don’t forget to clean the soap dispenser, which will help prevent improper dosing of detergent. Just follow the instructions in your user manual, advises Andrew Leeland, a virtual appliance expert at home repair and maintenance company Frontdoor.
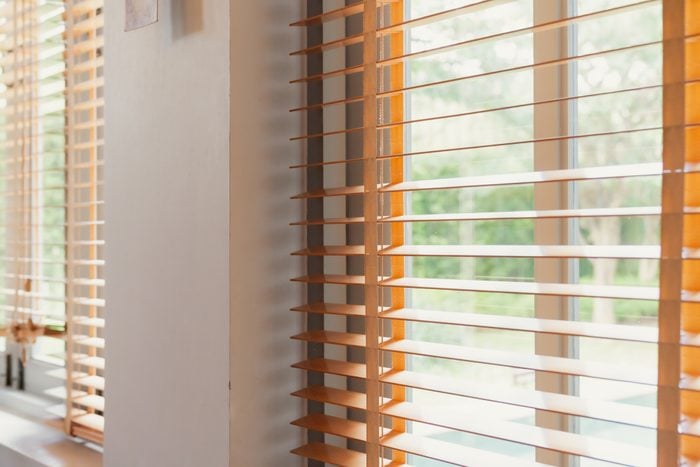
Blinds
By design, blinds are places in the home that collect a ton of dust and debris. Not only does this detract from your home’s appearance, it also increases allergens in the air. Dust is any collection of small particles, including skin cells, human hair, pet fur, carpet fibers, dander, pollen and even bacteria. So getting rid of dust everywhere around the house is important.
How to clean them: A practical solution, according to Fabuloso cleaning expert Sharon Garcia, is to use a microfiber cloth dampened with water to remove the dust and debris—by using only water, you’ll eliminate the need for rinsing. Close the blinds, then wipe each slat clean. Open blinds fully to expose the underside of the blind, then wipe each slat again with a damp cloth. Rinse the cloth thoroughly as dirt and dust accumulate.
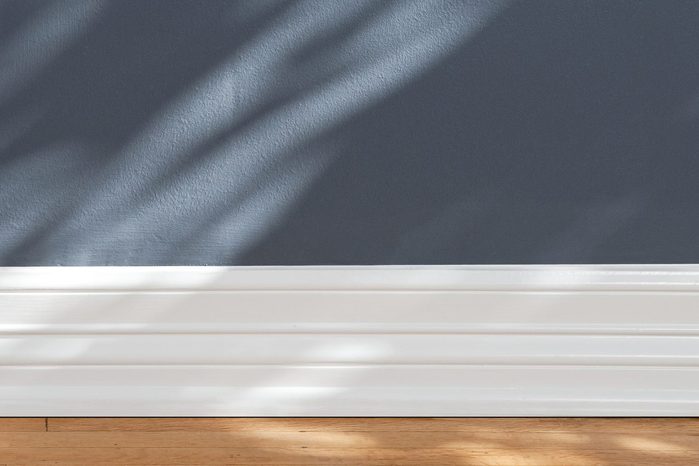
Baseboards
When you learned how to mop the floor, our guess is that no one told you how to clean baseboards too. It’s easy to overlook this chore, but over time, baseboards will show wear. The good news is you only have to clean them once or twice a year. The bad news is there’s no easy way to effectively do this except by hand and from the floor.
How to clean them: To get the job done, Garcia uses a multipurpose cleaner, a soft-bristle brush (or a microfiber cloth or sponge) and a bucket of warm water. Mix a multipurpose cleaner (such as Fabuloso), using 1 ounce of the solution to 1 gallon of water. Wipe the baseboards clean using a microfiber cloth dampened in the cleaning solution. Rinse the cloth as dirt accumulates.

Keyboards and remote controls
Whether you’re spring cleaning or adding a weekly clean to your routine, give a little love to your keyboards and remote controls—they may be germier than you think. In his study, microbiologist Charles Gerba famously found that keyboards have such high levels of bacteria, it’s often 400 times more than an average toilet seat. Because they’re used every day, they can be laden with crumbs, dust, hair and sticky residue, making them one of the dirtiest places in the home. Indeed, they harbor coliform, yeast, mold and staph.
How to clean them: Use a toothbrush or other small brush to clean debris from around the keys, suggests Frontdoor virtual handyman expert Bill Munger. Then, lightly spray a clean cloth with a mixture of 1/3 water and 2/3 rubbing alcohol. Wipe the entire device clean. Do this every week, especially if someone in the house gets sick or is immunocompromised.
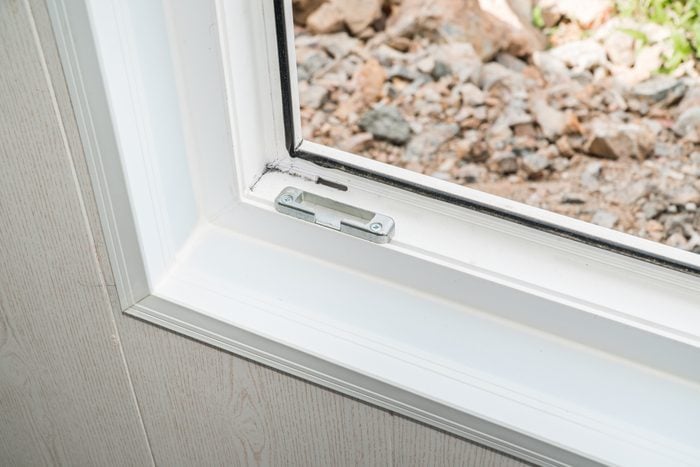
Window tracks
When learning how to clean windows, it’s more often about getting the glass to sparkle. But don’t forget about cleaning the window tracks—you’ll open the window on a perfect spring or fall day and be shocked to find dead bugs and dried vegetation lying in a thick bed of dirt in the window track. Yuck!
How to clean them: Start by vacuuming away any loose dust, bugs and debris from the tracks, says Garcia. Next, dilute some multipurpose cleaner in a bowl with water. Dip a cotton swab or a small brush into the mixture and gently scrub away the dirt. Finish by wiping the track and the bottom edge of the window with a damp cloth.

Ceiling fan
You wouldn’t think that a moving fan would gather dust, but that’s not the case. It accumulates dust whether it’s moving or not, and those particles and allergens sway and spread through the room, wreaking havoc for folks with asthma, allergies and other respiratory conditions. Which is why learning how to clean a ceiling fan is not only good for your home, but also for your health.
How to clean it: According to green cleaning coach and author of The Joy of Green Cleaning, Leslie Reichert, the easiest way to clean a fan blade is to use an old pillowcase. Place it over the fan blade. Then, with your hand lightly pressing on top of the case, drag the pillowcase off. The dust will fall into the pillow case.
If it’s been a while since you’ve cleaned the fan blades, a residue may still remain after dusting them. To remove it, wipe each fan blade with a damp microfiber cloth and let it air-dry. While you’re at it, wipe down the fan housing and blade attachments too.
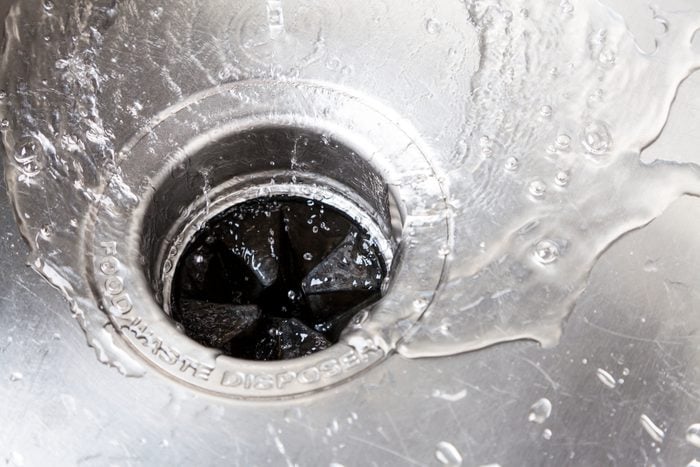
Garbage disposal and flange
Consider this: The garbage disposal and the rubber flange that tops the drain are places in the home considered potent sources of bacteria. And even if you are diligent about what food scraps make it down the drain, food particles accumulate and odors happen, making this one of the germier places in the home. To prevent gunk buildup, you’ll want to regularly clean and deodorize the disposal. As Reichert explains, “Even though the disposal chews up almost all the food, it never gets to brush its teeth.”
How to clean it: For general upkeep, run ice cubes and lemon peels through the disposal to give it a lovely fresh scent, Reichert says. No lemon? No problem. Brian Custer, Frontdoor’s virtual plumbing expert, likes to run a handful of ice cubes and a handful of coarse salt with water through the disposal. Follow that with a cup of baking soda and a cup of white distilled vinegar. Let the mixture sit for a few minutes, then run the disposal with water for a few seconds.
To more thoroughly clean the disposal flange, use gloves to turn up the ends of the flange, then scrub it clean with a long-handle dish brush and detergent.

Blender gasket
Smoothies are a great way to get your daily quota of fruits and vegetables, but make sure you’re not mixing up a side of bacteria. According to an NSF household germ study, 36% of blender gaskets that were tested had E. coli, 36% contained salmonella and 43% had yeast and mold. Time to take a serious look at those small kitchen appliances.
How to clean it: Follow the manufacturer’s directions when cleaning blender gaskets. Some gaskets can be removed and scrubbed with a toothbrush and warm, soapy water, then rinsed, dried and replaced. Other gaskets, like those on NutriBullet, should not be removed from the blade assembly when cleaning. Instead, wash the entire blade assembly by hand with warm, soapy water and a dish brush to loosen any stuck-on debris.
If you want a deeper clean, rinse the blade with a 10% diluted vinegar and water solution or lemon juice. Hand-washing is recommended over using the dishwasher, as the heat from some dishwashers may damage the gaskets and cause them to loosen and fall out.
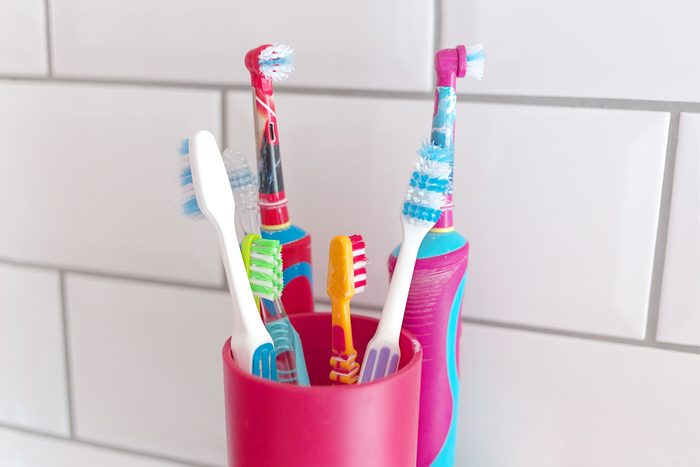
Toothbrush holder
Cleaning a bathroom from top to bottom includes removing hard-water stains and tackling that pink mold. But there’s likely a small spot in the bathroom you’re forgetting: the toothbrush holder. According to an NSF study, it’s the third-germiest place in the home. You wouldn’t think that something that cleans your teeth could create such a germy environment between uses, but it’s true. Factor in the food particles that may cling to the bristles and the moist, dark environment they pool in, and you have the perfect recipe for breeding germs.
How to clean it: If the toothbrush holder is dishwasher safe, wash it once or twice a week, either in the dishwasher or by hand in hot, soapy water. Then rinse it, wipe it dry—then wipe it one more time with a disinfectant wipe. And make sure you’re changing your toothbrush often enough.
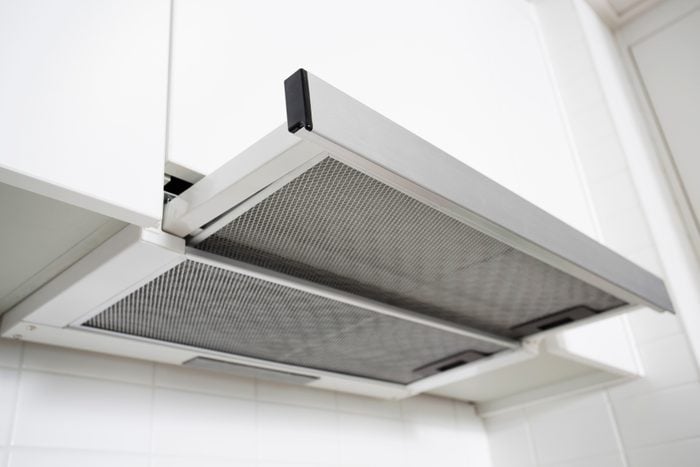
Range hood interior
It’s easy to wipe down the outside of your range hood because you can see it. But what about the inside, where the grease is trapped? Cleaning this area is key to helping the fan work more efficiently, Gagliardi says.
How to clean it: Before starting, review the manufacturer’s instructions for cleaning (they are usually available online). Then disconnect the hood from the power source or shut off the circuit breaker. Wipe away excess grease with paper towels. Next, spray the grease trap surfaces (including the screens and the fan blades) with a degreaser, such as Formula 409 Cleaner/Degreaser. Wipe the fan blades with a paper towel and reapply degreaser, if necessary.
To clean the filter, spray with degreaser and scrub gently with a light-duty sponge or old toothbrush. Rinse with water. Wipe dry with additional paper towels before reassembling the unit. If the filter is very greasy, it’s wise to replace it.
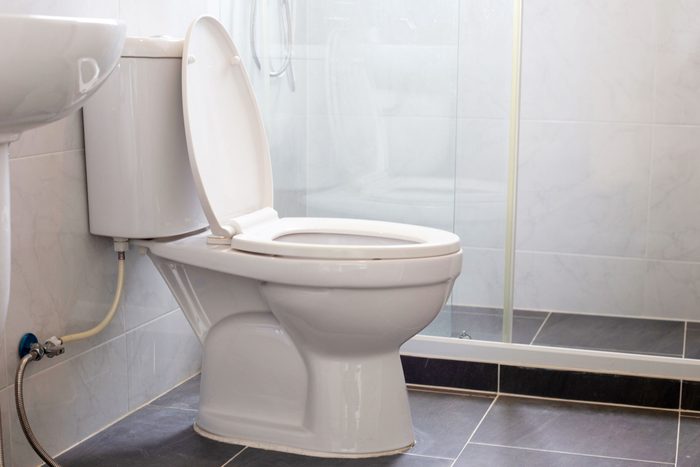
Area around the toilet
If you focus on cleaning a bathroom fast, you’re going to miss some very important spots, like the area around the toilet—it’s one of the grossest places in the home. If you really want to prove it, shine a urine-detecting black light flashlight around the toilet seat, the outside of the toilet bowl, the floor around the toilet and the nearby walls—yes, the walls. Talk about a reveal.
How to clean it: First, pre-clean obviously soiled areas with a disinfectant cleaner. (Gagliardi recommends Clorox Free and Clear products that kill germs and viruses without bleach, ammonia or fragrances.) Then spray the areas listed above until they are thoroughly wet. To disinfect, the surface must remain visibly wet for two minutes. Wipe dry. No rinsing is required. Next, learn how to clean your walls.

The tops of kitchen cabinets
Cleaning kitchen cabinets takes time and effort, and by the time you’re done, you’ve likely forgotten about the tops of them. Sure, it’s one of those places in the home where no one ever looks. But hop on a stepladder and check it out for yourself. You’ll be shocked. The thick layer of grime you’ll find comes from grease from the stove combined with everyday household dust, making it one of the grimiest places in the home.
How to clean them: Reichert recommends cleaning the tops of cabinets by spraying the surface with a mixture of half alcohol and half distilled white vinegar—the alcohol and vinegar cut through the grease and loosen the buildup. Allow it to sit for an hour to loosen the grime. Spray it again and wipe it with a microfiber cloth. If the grime is really thick, use a spatula to scrape it up.
About the experts
- Jennifer Ahoni is a biomedical engineer and Proctor & Gamble principal scientist for fabric care. She is working with her team and NASA to develop a laundry-care product to use in space.
- Andrew Leeland is a virtual appliance expert for Frontdoor, an app that offers expert home-maintenance advice and help via real-time video chat.
- Brian Custer is a virtual plumbing expert for Frontdoor.
- Mary Gagliardi is known as “Dr. Laundry.” She is the in-house scientist and cleaning expert for Clorox and has more than 24 years of experience in laundry-product research and development.
- Sharon Garcia is an Instagram and TikTok personality and a cleaning expert for Fabuloso. A successful entrepreneur, her videos reach a wide range of English-speaking and Spanish-speaking audiences.
- Bill Munger is a virtual handyman expert for Frontdoor.
- Leslie Reichert is known as the Green Cleaning Coach. She is an expert in green cleaning and is the author of The Joy of Green Cleaning. Reichert knows firsthand the importance of cleaning with environmentally safe products.
Sources:
- National Sanitation Foundation: “International Household Germ Study”
- Journal of Environmental Health Resources: “Occurrence of bacteria and biochemical markers on public surfaces”
- National Sanitation Foundation: “Where Germs Lurk”
Originally Published: September 26, 2023