


How to Clean Every Room in Your Home: Smart Tips That Make Housecleaning Easier, Faster—and Done!

Updated: Jun. 07, 2024
Not sure where to start? Follow our expert housecleaning tips for your kitchen, bathroom, bedroom and more to create a home that sparkles.
Our editors and experts handpick every product we feature. We may earn a commission from your purchases.Learn more.
Housecleaning can seem never-ending—especially if you have kids, pets or both. You barely have time to cross one item off your housecleaning checklist before you spy something else that’s dirty, dusty, sticky or grimy.
What’s more, cleaning can be complicated, partly due to the proliferation of different types of surfaces and fabrics, explains Brandi Winch, owner of Homemaid Cleaning Service in Kalamazoo, Michigan. “Just 25 years ago, we had something like five different floorings to choose from and four different countertops,” she says. “Now we have hundreds of both, and they all require different care.” And that’s not even including all the fabric coverings for your sofa or variety of rugs.
The good news: “It is not difficult to learn how to clean,” says Winch. It’s all about finding the right technique and product. And once you master these expert housecleaning tips for dusting, mopping, scrubbing and other chores, and have the best cleaning products in your arsenal for the targeted surfaces, upkeep will be easier. Read on for the inside cleaning know-how that will help you clean everything in your home—and keep it spotless.
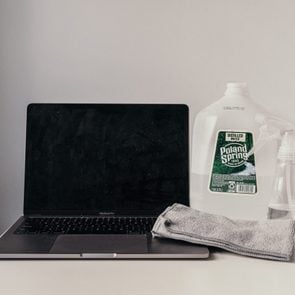
And while you’re cleaning your house, don’t forget about how dirty your phone can get. Here’s how to clean iPhone charging port correctly.
Housecleaning tips
While cleaning may seem like common sense (if something is dirty, wash, dust or vacuum it), pros do know certain housecleaning tips and tricks for getting the job done more efficiently and effectively.
1. Gather your supplies
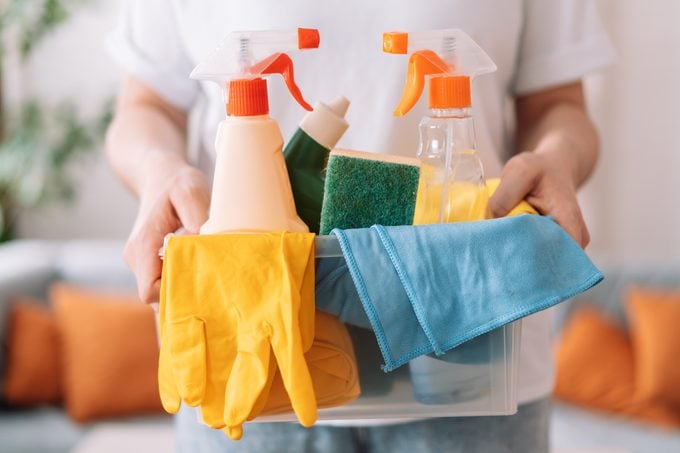
Before you start cleaning, gather all the cleaning products you’ll need, including a scrub brush, sponges, microfiber cloths and a bucket. Carry them in a caddy or wear them in an apron so you don’t waste time looking for the right cleanser or brush.
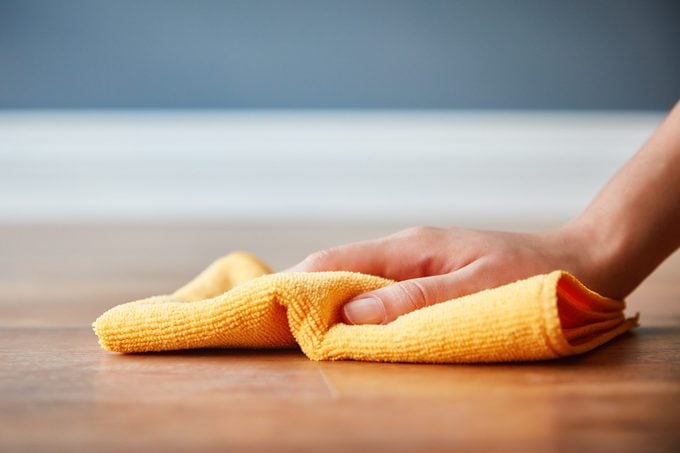
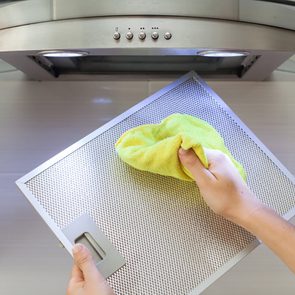
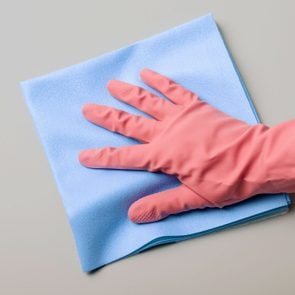
2. Pick the right cleaning tools
Cleaning accessories make a big difference. Most cleaning pros favor microfiber cloths and mop pads because they’re reusable, they don’t leave behind fuzz and they’re less abrasive than paper towels. Winch prefers Quickie microfiber cloths but cautions that you can’t wash or dry them with high heat, since the microfiber is really a kind of plastic, not a cloth. A vacuum-mop combo that sucks up dirt while washing your floors can also be a huge two-in-one time-saver.
3. Let the products do the work
All deep-cleaning comes down to one of four things: chemicals, agitation (aka physical scrubbing), time and heat. Sometimes you may need just one of those things, and sometimes all four. “You do not remove tough grime by wiping alone,” says Winch. “You get through grime with strong chemicals that require time to activate.” You may need the addition of steam or hot water to remove tough stains.
4. Try cleaning on the grid
Instead of focusing on one cleaning task at a time, such as cleaning the counters, Winch starts at one end of a room and cleans everything in a space from top to bottom—in a kitchen, for example, it might be the cabinet above the sink, the sink backsplash, the sink itself, the cabinet below the sink and the baseboard—then moves to the right and repeats. It’s counterintuitive, Winch says, but it’s a major time saver because you aren’t running around the room or retracing your steps.
5. Don’t overlook the perimeter
“Most of the yuck on floors is right along the four inches or so around the edge of the room,” says Winch. That’s where vacuums and mops tend to miss, so if you really want a spotless floor, clean that area by hand with a designated floor cleaner and a microfiber cloth. While you’re down there, clean the baseboards.
6. Put on a cleaning playlist
Listening to a playlist chock-full of good songs for cleaning won’t necessarily make cleaning easier, but we promise it will make cleaning more fun.
Now that you have the basics down, learn the secrets to cleaning the house, room by room.

How to clean a kitchen
Not only is the kitchen the most-used room in the home that needs to be cleaned on average twice a week, but it’s also the room with the biggest variety of surfaces, which makes it tricky, says Winch. After all, a stainless steel sink requires an entirely different cleaning product and technique than, say, granite countertops or wood cabinets. Here’s how to clean the kitchen from top to bottom.
Tackle the fridge
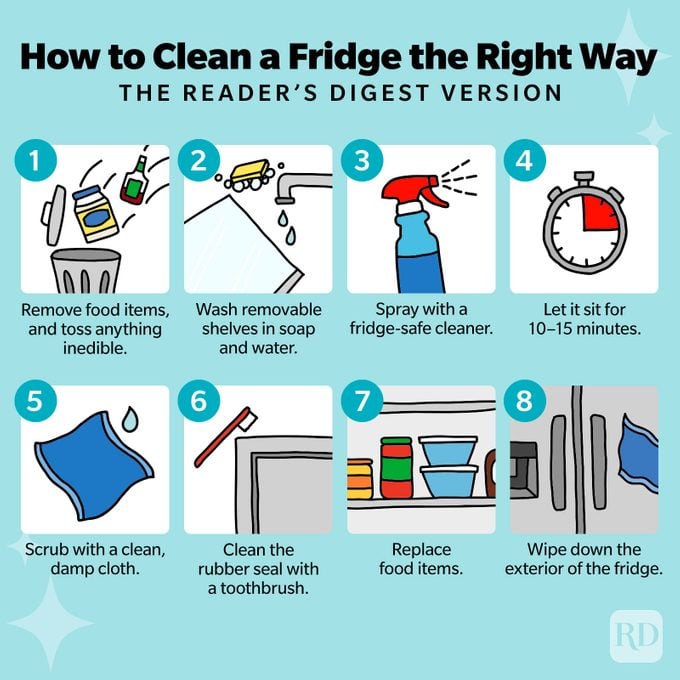
Because refrigerators contain food and are opened and closed constantly, sometimes by folks with dirty hands, they can be a breeding ground for mold and bacteria. The key to cleaning out the inside of a fridge is to be very systematic and work from the top to the bottom, so any crumbs or drips don’t get missed. “People go all over the place, trying to clean the dirtiest spot first,” Winch says. Follow these steps for a comprehensive clean:
- Remove all food and condiments. Toss anything that’s expired, moldy or otherwise inedible.
- Pick up any large chunks of food with a paper towel and discard; then vacuum all crumbs.
- Wash removable shelving and drawers with hot, soapy water in the sink.
- Spray the ceiling, back, sides and shelves of the refrigerator with a multipurpose cleaner, then close the door and let it sit for 15 to 20 minutes.
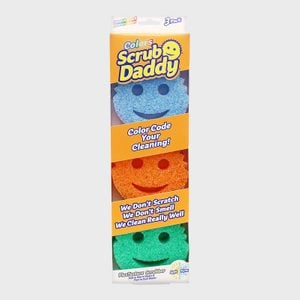
- Once the time is up, working from top to bottom, scrub any dried-on gunk with a non-scratch sponge such as a Scrub Daddy; then wipe dry with a microfiber cloth or paper towel. Go over any stubborn stains with a dampened Mr. Clean Magic Eraser.
- Replace food items, following these fridge organization tips.
- Spray and wipe down the exterior of the fridge. If it is stainless steel, avoid oil-based cleaners, which will make fingerprints stand out. A better choice is a stainless steel cleaner.
Pro tip: Clean the rubber seal around the fridge with an old replaced toothbrush or dampened Mr. Clean Magic Eraser.
Another regularly used appliance that needs cleaning is the toaster. Find out how to properly clean your toaster here.
De-grime the stovetop
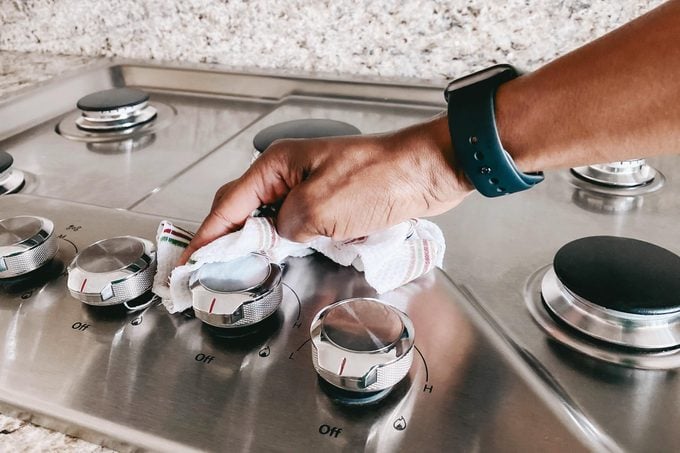
The best way to keep any type of stovetop looking like new is to wipe up splatters and spills right away, before any heat bakes them into hardened goo. To clean an electric stovetop or to clean a gas stovetop, follow these steps:
- Remove pans or grates and soak them in the sink with a few drops of Dawn Dish Soap and warm to hot water. Let sit 15 to 20 minutes; then scrub with a scrub brush.
- Wipe away crumbs with a slightly damp microfiber towel. Then spray the stovetop with a de-greaser such as Greased Lightning or, if you prefer natural cleansers, apply a paste of baking soda and water. Let either product sit for at least 15 minutes.
- Once the time is up, scrub with a non-scratch scrubber like a Scrub Daddy. Wipe clean with a paper towel or microfiber cloth. “It’s going to be messy, so don’t worry about getting it all with one wipe,” says Winch. Repeat spraying, scrubbing and wiping as needed.
Pro tip: “I really like using Scrub Daddy sponges, so I wanted to pass along a couple of tips for making them last longer,” Winch says. First up: “Rinse and clean the sponge after each use, then let it dry on a paper towel or slip it into the Daddy Caddy (the water drips off while the sponge stays dry).” One more tip: Don’t use bleach with the Scrub Daddy. “I love both products, but they don’t get along well together.”
( Find out if bleach expires.)
Address the oven
Although the inside of your oven is mostly hidden from view, cleaning it properly is important because food residue can create smoke and unpleasant odors that may affect the taste of the food you cook next. Self-cleaning options use very high temperatures to burn away left-behind bits, but they won’t always leave your oven spotless. Here’s how to do it right:
- With the oven off and cool enough to touch, remove the oven racks to clean separately.
- Spray the interior of the oven with a de-greaser, such as AspenClean Natural Kitchen Cleaner. Let it sit for 20 minutes.
- After the time is up, scrub lightly with a non-scratch pad like a Scrub Daddy to loosen dirt, then wipe with a damp microfiber cloth. Repeat as needed. Finish by drying with a clean, dry microfiber cloth.
Pro tip: Don’t forget to clean the glass oven door for a truly sparkling clean.
Next: Learn how to use the self-cleaning oven feature safely and effectively.
Shine the sink
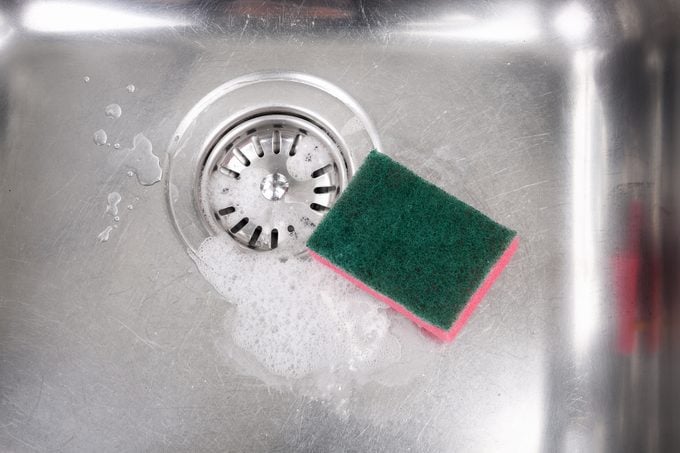
Even though sinks spend a lot of time around running water and dish soap, they can still accumulate a lot of dirt. Here’s how to keep yours spotless:
- Start with a dry sink. “One common mistake people make with anything built up and grimy is that they wet the surface first,” says Winch. But that only serves to dilute the product, she explains.
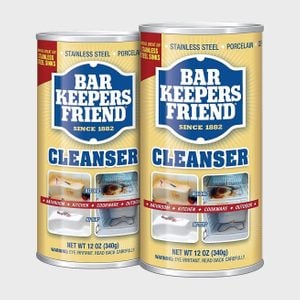
- For porcelain or stainless steel sinks (sinks made of copper or other materials require special care), apply a coating of Bar Keepers Friend to the inside of the sink and the faucet and let it sit for 20 minutes.
- While you wait, freshen up the garbage disposal, if you have one. Add a few spoonfuls of baking soda and then pour in white vinegar until it foams. With warm tap water turned on, run the disposal for about 60 seconds. “Make sure you clean it regularly so bits of food don’t get stuck in it,” Winch says.
- Back to the sink: Use a non-scratch plastic sponge like a Scrub Daddy to scrub the surfaces, including the faucet.
- Rinse thoroughly.
Pro tip: To make your sink look like new, go over it with a damp Mr. Clean Magic Eraser every month or so. Winch says it will even clean dirt out of the lettering around the drain.
(While you’re at it, learn the proper way to load silverware in dishwasher.)
Clean the countertops
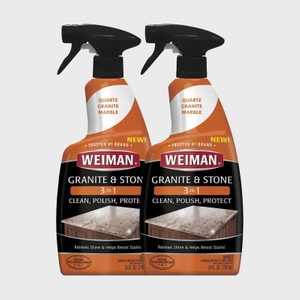
When it comes to cleaning countertops, you need to know your surface. Though it looks attractive, natural stone—including granite and marble—is sensitive to chemicals, and over time, food and drink spills and even soap from dishwater splatter can cause erosion. Regular cleanings help prevent long-term pitting, dull spots and other damage. Natural-stone counters also need to be professionally sealed on a regular basis.
- Spray the counter with a product appropriate to the material it is made from, such as a pH-neutral cleaner for natural stone.
- Rinse well and dry with a clean microfiber cloth.
Pro tip: Wipe up any spills immediately, before they have a chance to set in and become stains.
Freshen kitchen cabinets
Cleaning kitchen cabinets often gets overlooked, but they “will get dirty just existing in the room,” says Winch, thanks to all the grease and dust particles in the air. Here’s how to keep your kitchen cabinet doors looking new.
- Mix warm water with a few drops of Dawn Dish Soap, then wash the outside of the cabinets with a microfiber cloth.
- Rinse with a damp microfiber cloth.
- Don’t forget to clean the drawer pulls and around the hinges, two of the most overlooked spots.
Pro tip: Clean cabinets top to bottom so gravity helps remove dust and dirt.
Next: learn how to get rid of stinky fish smell from the kitchen.

How to clean a bathroom
Between mildew, a damp environment and residue from soap, toothpaste and other products, cleaning the bathroom can be a daunting task, but the right approach will help you clean quickly and efficiently, says Sarah Mitchell, CEO of Eco Mama Green Clean in Scottsdale, Arizona. Follow her expert cleaning tips for a bathroom that gleams.
Scour the toilet
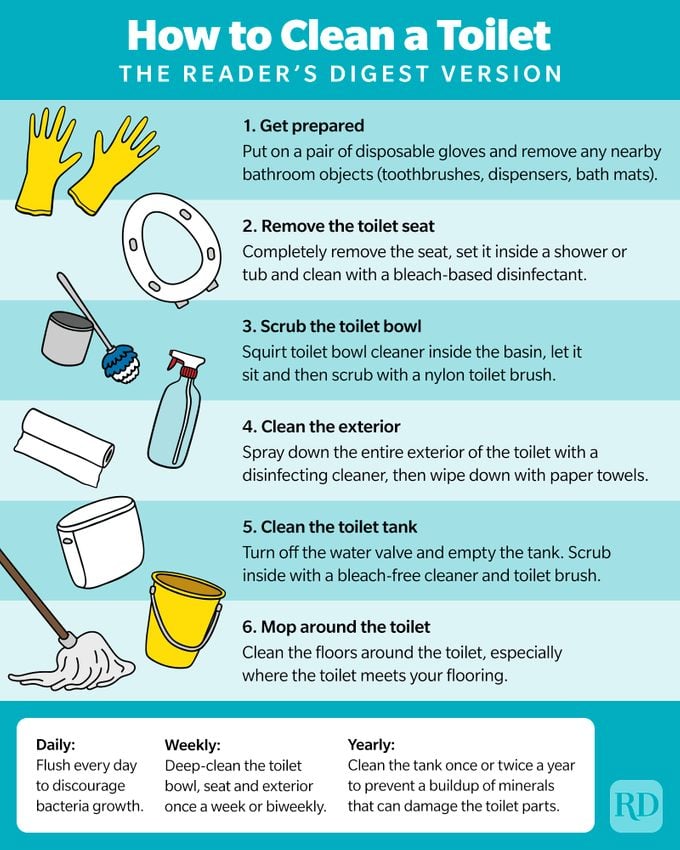
Start with the toilet, as cleaning a dirty one can disperse germs into the air, according to research. Cleaning the toilet first gives you the chance to fight those germs as you make your way to the rest of the room.
- Squirt a toilet bowl cleaning product inside the bowl and under the rim. Scrub the inside of the bowl with a toilet brush. (You may want to don gloves and a mask.)
- For hard-water stains in the porcelain, gently file with a pumice stone toilet bowl cleaner. Flush to rinse.
- Wipe the exterior of the toilet, including the tank, with a disinfecting wipe.
Pro tip: Be sure to clean all the way down to where the toilet meets the floor, an area that tends to collect dirt and grime, says Vanesa Amaro, housecleaner and CleanTok personality.
Scrub the bathtub
Bathtubs are naturally prone to buildup from soap and other products, as well as mildew. How you clean will depend on what your tub is made of: porcelain, enameled cast iron, acrylic or fiberglass. If you’re uncertain that a product will be safe, test it in an inconspicuous area first.
- Spray a dry tub with a commercial cleaner (Mitchell likes Zep Power Foam Tub Cleaner) and let it sit for 20 minutes. Pre-soaking will make it easier to scrub dirt loose after the cleaners do their work, says Mitchell.
- Use a non-scratch sponge such as a Scrub Daddy, or a nylon bristled brush, to scrub the tub.
- Rinse the tub with clean water.
- Use an all-purpose cleaner or wipe to wipe down the outside of the tub.
Pro tip: To keep the tub clean longer, rub it down with a soft, dry cloth to remove excess moisture after every use.
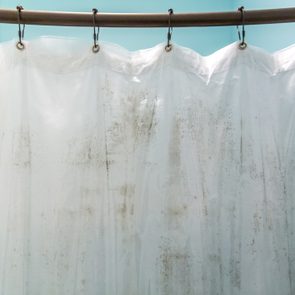
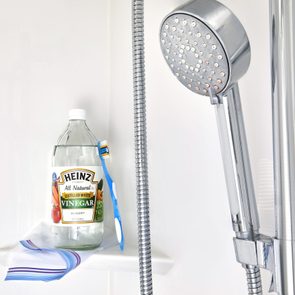
Clean the shower
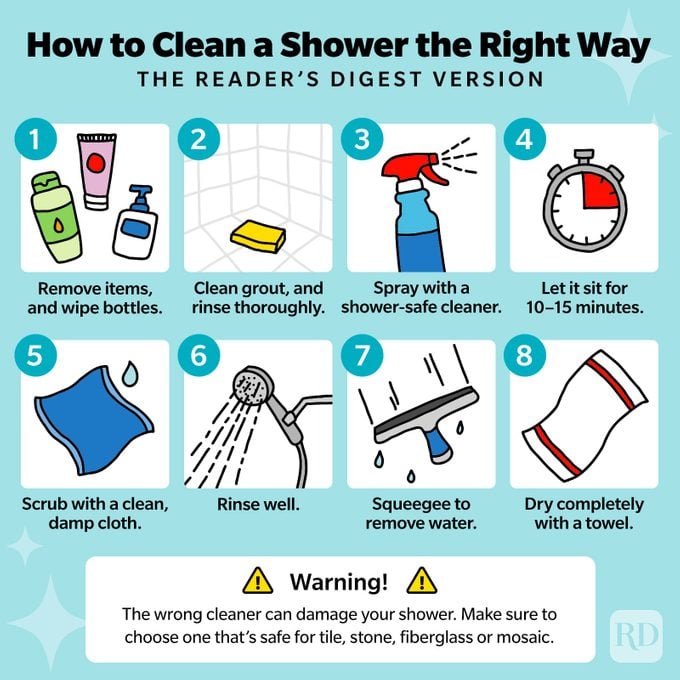
Similar to tubs, showers experience significant buildup from soap and other products, as well as mildew—and how you clean will depend on your shower’s material. If you’re not sure if a product will be safe, test it in an inconspicuous area first.
- Spray a dry shower with a commercial cleaning product such as Clorox Plus Tilex Fresh Daily Shower Cleaner; then let it sit for 10 to 15 minutes to cut through grime and buildup. (Note: You should not leave cleaners on natural stone.)
- Use a non-scratch sponge such as a Scrub Daddy, or a nylon bristled brush, to scrub the shower walls and glass shower doors.
- Rinse the shower. Squeegee to remove excess water.
- Those with tile showers will also need to know how to clean grout.
Pro tip: For a natural cleaning solution, make a paste of baking soda with a small amount of water. Use it in place of a commercial cleaning product.
Wipe down mirrors
Bathroom mirrors can be prone to toothpaste spatters, makeup smudges and other marks. Cleaning them takes finesse if you want to avoid leaving streaks. Follow these steps:
- Mix hot water and a drop of liquid dish soap.
- Using a microfiber cloth dipped in the mixture and wrung out (so it’s damp), start at the top left corner of the mirror and wipe in a Z-shaped pattern until you reach the bottom right corner. You want to always pull any dirt downward and not go over the same surface you already cleaned, to avoid streaks, says Elena Ledoux, founder and CEO of Superb Maids in Las Vegas.
- Repeat with a clean, dry microfiber cloth.
Pro tip: Don’t forget to clean out the medicine cabinet while you’re at it.

How to clean a bedroom
Your bedroom is your refuge from the world, so keeping it clean is a priority. Cleaning also helps reduce allergens that can lurk in the place you spend an average of eight hours a night. Clearing away any clutter and vacuuming the floors and carpets, including under the bed, is a good start. You’ll also want to wipe down surfaces such as nightstands, dressers and mirrors using a disinfecting cleaner and a microfiber cloth, Mitchell says.
Change the bed sheets
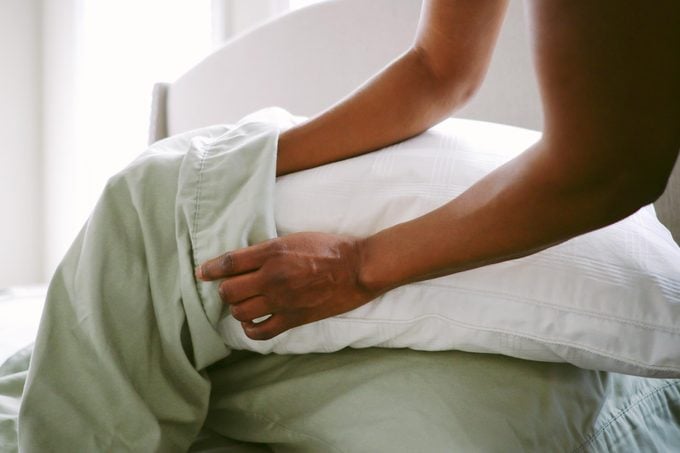
The quickest way to straighten up a bedroom is to make the bed, complete with freshly laundered linens. After all, sheets accumulate dirt, dead skin cells, body oils, sweat and dust mites, according to The Sleep Foundation. You’ll want to change and clean your bedding weekly, at minimum. Here’s how:
- Strip the bed of the fitted and flat sheet, pillowcases and comforter or duvet cover.
- Wash the bed linens, following any specific care instructions from the manufacturer. If you have a machine-washable mattress pad cover, toss it in too.
- Remake the bed with fresh, clean sheets.
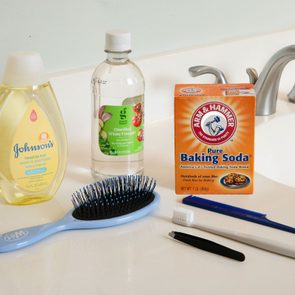
Pro tip: Reach for oxygen bleach, not regular, to get yellow stains out of pillows, says Lori Williamson, founder of Now It’s Clean. Those yellow stains are caused by sweat and are protein-based. “Bleach isn’t the ideal solution, as it can cause further yellowing,” she explains.
Clean a mattress
Just because mattresses are usually covered doesn’t make them immune to stains or odors. Refer to the manufacturer’s instructions about cleaning your mattress. For general freshening up, Mitchell recommends doing the following on a monthly basis:
- Sprinkle baking soda on top of the mattress. Let it sit for 15 minutes to absorb odors.
- Vacuum the mattress to remove the baking soda.
Pro tip: Every six months, flip your mattress to promote even wear.
Vacuum blinds
Window treatments can also harbor dust and allergens. There are a number of ways to clean blinds, depending on the material. These steps work for most varieties:
- Close the blinds with the slats facing downward.
- Use a vacuum with a brush attachment or a microfiber cloth to clean horizontally across each blind slat, working from top to bottom.
- If the blinds are really dirty, mix some water with a drop of liquid dish detergent, dip a microfiber cloth into the sudsy water, then wring it out and wipe each blind.
- Dry with a clean, dry microfiber cloth.
Pro tip: Machine-wash or dry-clean drapes.
How to clean a living room
Living is messy, and this room shows it—with snack crumbs, pet hair, sundry papers and more. Keep it at its best with these tips.
Refresh couches
Cleaning a couch not only makes it more pleasant to sit on, but it can also help it last longer too. How you clean depends on the material of your couch, so always read the labels for care instructions.
- Remove the cushions. Vacuum the couch to suck up any crumbs and dust bunnies. Keep an eye out for loose change.
- Treat any stains on the cushions according to the care tag label.
Pro tip: Some fabric sofas, including velvet, can benefit from a steam cleaning.
Polish wood furniture
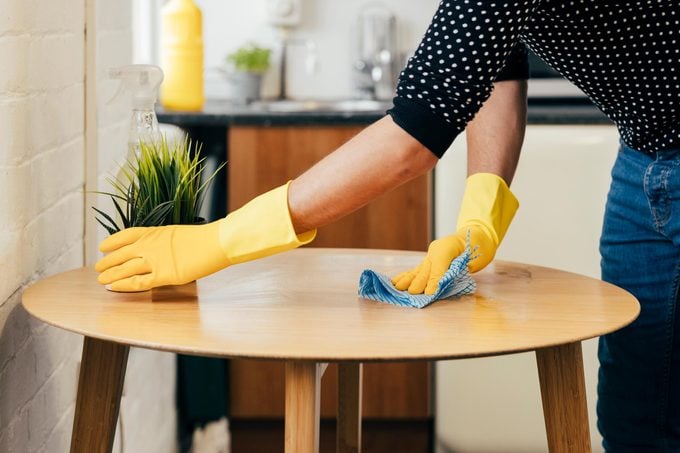
Wood furniture such as end tables and bookshelves need regular dusting and should also get an occasional deep-clean to preserve the wood.
- Spray a microfiber cloth with a cleaner that’s designed for use on wood, such as Method Daily Wood Cleaner.
- Wipe the furniture down.
- Dry with a clean, dry microfiber cloth.
Pro tip: Furniture polish is generally not necessary, but you can wax wood once it’s clean to help protect it. Apply the wax to clean wood using a microfiber cloth, then buff it in the direction of the wood grain.
Dust your TV
TVs have gotten larger and larger over the years—ideal for streaming your favorite flick, but less so when it comes to cleaning. If your living room features a large-screen television, you might be surprised by the collection of smudges, streaks and fingerprints you can see when it’s turned off. To clean your TV and keep it smudge-free, follow these tips.
- Spray a TV screen cleaner on a microfiber cloth—never directly on the screen, as electronics can be sensitive to moisture.
- Starting at the top left corner of the screen, wipe in a Z-shaped pattern until you reach the bottom right corner. This will prevent streaks.
Pro tip: Remember to dust the TV cabinet if you have one, and give the remote a quick swipe with a disinfecting wipe.
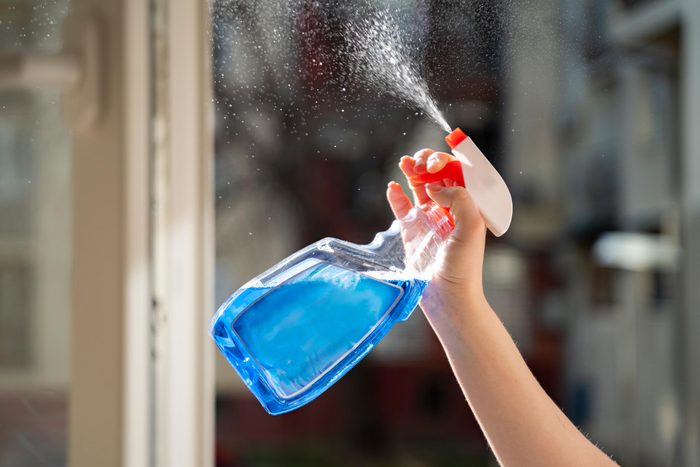
Wash your windows
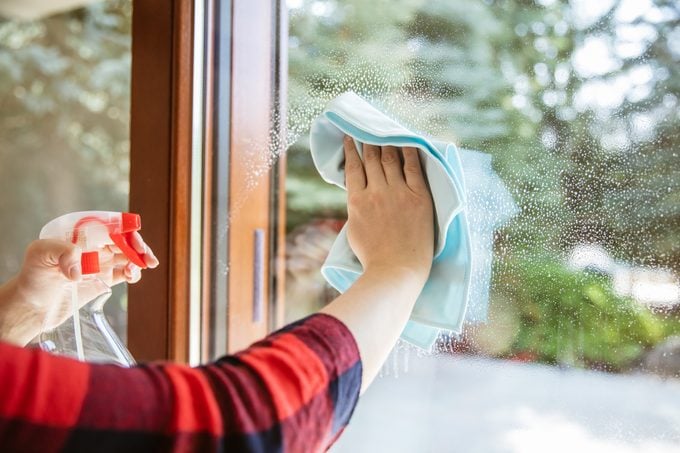
Windows can get surprisingly filthy, and that actually affects the quality of the light coming through them. Nothing says clean like a clear, shining windowpane.
- Dust or vacuum around the window frame and sills.
- Spray a commercial glass cleaner such as Windex on the glass pane; then wipe in an S-shaped pattern using a microfiber cloth. This technique helps you cover more surface area more quickly and prevent streaks, explains Ken Fisk, director of technical services at Window Genie, a Neighborly company.
- Repeat for each pane.
- Dry using a squeegee or a clean, dry microfiber cloth.
Pro tip: Focus on cleaning one window at a time and spray as you go. According to Fisk, letting the solution dry on the window leads to streaks.

Clean your floors
Dirt accumulates quickly on floors because of gravity: After all, everything ends up on the floor regardless of what room you’re in. How you clean a floor varies, depending on its material, and while vacuuming is generally a good first step to suck up loose debris, many surfaces require a more thorough technique.
Mop laminate floors
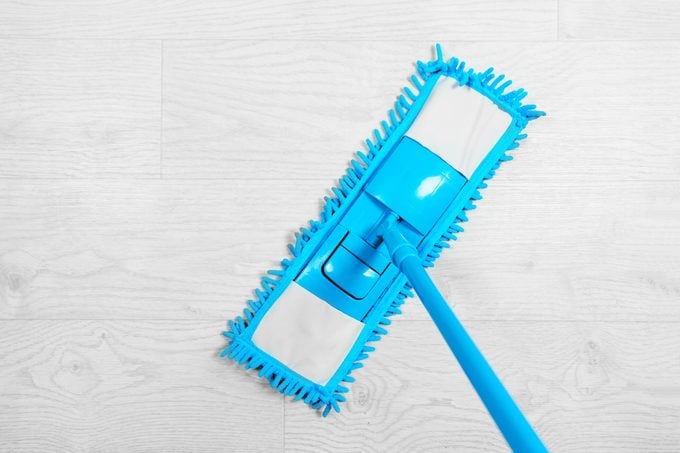
The No. 1 rule of laminate floors is to never get them too wet, because moisture can seep into the cracks between boards and cause damage. That’s why you never want to spray products directly on a laminate floor.
- Use a product designed for laminate floors, such as Zep Hardwood and Laminate Floor Cleaner, and prepare it according to the package directions; then transfer to a spray bottle. If it needs to be diluted, use cold to lukewarm water, recommends Pam Clyde, owner of BritLin Cleaning, as hot water may cause the cleaning agent to evaporate too quickly.
- Spray a microfiber mop pad with just enough cleaner to moisten it.
- Starting at the farthest point away from you, work in 5-by-5-foot sections. Begin in one corner and move the mop in an S-shaped pattern, rotating the mop head at each curve. After completing a section, go over it with a dry mop pad in the same pattern to dry the floor.
- Repeat until the entire floor is clean.
Pro tip: Vinegar, while excellent for cleaning many things, is too abrasive for laminate floors, according to Clyde. If you want to use a natural cleaner, try Dr. Bronner’s Sal Suds Biodegradable Cleaner.
Polish tile or marble floors
Not every tile floor is the same, but what usually makes them difficult to clean is the grout lines. Do these last, after the tile has been cleaned.
- Prepare the appropriate cleaning product for the material. A pH-neutral cleaner can be used on any type of tile, Clyde says.
- Soak a microfiber mop pad in the cleaning solution; then wring it out so it’s damp but not dripping.
- Start at the farthest point away from you and work on one section of the floor. Move the mop in an S-shaped pattern, rotating the mop head at each curve. Repeat until the entire floor is clean, regularly changing mop pads as they get dirty.
- Spray a grout brush with the same pH-neutral cleaner or a product designed for grout. Gently scrub the grout lines with the brush and rinse with clean water.
Pro tip: If regular cleaning doesn’t clean stained grout, try a product that contains a touch of bleach, like Lysol’s Mold and Mildew Remover.
Tips for keeping a clean home
All the professional cleaning tips in the world won’t help if you don’t address some of the things that are getting your house dirty in the first place. Here are a few ways to ease your cleaning burden.
Leave shoes at the door
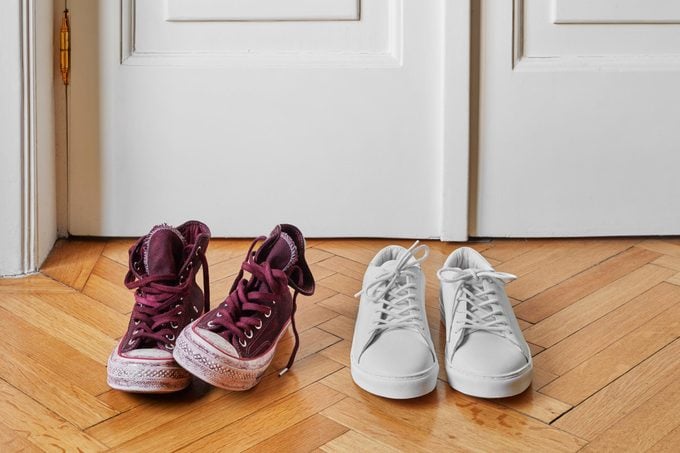
Much of the dirt that enters a home is brought in by the people who live there. “Want to keep your floors cleaner? Take off your shoes when you enter the house,” Amaro says. “Keep ‘house shoes’ by the door.”
Monitor the air
Making sure air vents are cleaned regularly and filters in heating, air conditioning units and air purifiers are clean can help cut down on allergens and dust. In the kitchen, making sure to run your exhaust fan while cooking can help reduce grease and odors.
Patrol your pets
“Keeping a clean home with pets requires a bit of extra effort,” says Mitchell, “but it’s worth it to maintain a healthy and hygienic living space with our furry friends.” One of her favorite pet hair removers is a device called a ChomChom, which is kind of like a lint roller without the sticky paper. There are also specific kinds of vacuums for pet hair, and if you own one or more pets, it makes sense to invest in one. While pet hair tends to be a major issue, it’s also important to be mindful that pets occasionally make messes, so keep some pet odor eliminators and pet stain removers handy.
By incorporating these habits into your routine, you can get the dreaded dog smell and cat smell out of your home, cut down on the time and energy you spend cleaning your space, and have more time to enjoy it.
Sources:
- Brandi Winch, owner of Homemaid Cleaning Service in Kalamazoo, Michigan
- Sarah Mitchell, CEO of Eco Mama Green Clean in Scottsdale, Arizona
- Vanesa Amaro, housecleaner and CleanTok personality
- Elena Ledoux, founder and CEO of Superb Maids in Las Vegas
- Lori Williamson, founder of Now It’s Clean
- Ken Fisk, director of technical services at Window Genie, a Neighborly company
- Pam Clyde, owner of BritLin Cleaning
- PubMed: “Toilet hygiene—review and research needs”

Originally Published: March 11, 2024