


42 Cleaning Tips from People Who Always Have a Spotless Home


Updated: Jul. 20, 2024

Whether you're looking for deep-cleaning solutions or tidying tricks, we asked the experts for their most-used cleaning tips. Here's what they had to say.
Walking into a spotless home can prompt amazement, and a slight feeling of inadequacy. Surfaces gleam, windows sparkle and fresh smells fill the air. How do they do that?, you wonder incredulously, remembering the crusty stove top and sink full of dishes waiting for you at home. Do they have a housekeeper? What cleaning tips do they know that you don’t?
But here’s the good news: There are simple ways to establish a clean home—and keep it that way. It requires a little know-how, planning and top tips from the pros, but it’s more than possible. So where do you start? Get a cleaning schedule together, and stick to it. “Having a routine is more important than reacting to soiling events,” says cleaning-for-health expert Allen Rathey, director of the Indoor Health Council, an advisory group for cleaning pros.
We’ve gathered more than 40 cleaning tips from experts in housecleaning, upholstery, disinfection, plumbing and appliance care. And rest assured, they know how to clean everything. Below, we’ll walk you through pro-approved tips from Rathey and seven other professionals. So whether you’re looking for a few shortcuts, preparing the house for guests or getting ready for spring-cleaning, there’s advice waiting for you.
Get Reader’s Digest’s Read Up newsletter for more cleaning, humor, travel, tech and fun facts all week long.
About the experts
|

Gather supplies before you start
Cleaning is hard enough. Don’t make it harder, or take longer, by fumbling for the right tools and cleaners. Not sure what you need? “A quick inventory of the surfaces that need to be cleaned will be a great guide,” says Dan Deonarain, owner of Galaxy Maids, a New York City–based cleaning and maid service. Are you dusting? Sweeping? Disinfecting? All of the above? Gather what you need before the cleaning begins.
| ♦ Expert advice |
| Buy a portable cleaning caddy. And keep one on each floor. This will eliminate walking back and forth or up and down to your basement or utility room balancing cleaners, sponges, scrub brushes and microfiber cloths. All that walking adds time. |
Give the product time to work
Cleaners are made to clean, but they aren’t magic, you know. They need time to dissolve grime or cut through hard water stains. Some cleaners, especially disinfectants, have specific “contact times,” which means the cleaner has to stay on the surface for that amount of time to work effectively. Make sure to always read the label.
By applying your cleaners and giving them the proper time to do the work, “you will save time and effort, and get a way better cleaning result,” Deonarain says.
Start when you’re already standing

Task initiation, or getting started, can be easier when you’re already up and moving. This can be especially true for neurodiverse people, especially those with ADHD, who may find certain cleaning tasks overwhelming and unmotivating. According to the organization Children and Adults with Attention-Deficit/Hyperactivity Disorder (CHADD), making a point of not getting stuck in the minutia is important. Do as much as you can while you’re up and moving, as quickly as possible until the job is done.
If you’ve already done a load of laundry, for instance, or you’re waiting for a cleaning product to do its thing, take advantage of the time it takes, however brief, and start another task—you’re already on your feet, after all.
Pick a direction (and stick with it)
Yep, there’s a right order to tackle a room. “Clean from the top down,” Rathey says, and “work clockwise or counterclockwise consistently.” It doesn’t matter which direction, he says. Just pick one, and keep at it. You’re less likely to forget something—and leave germs and grime behind—if you stick to the same routine.
Leslie Reichert, author of The Joy of Green Cleaning, agrees. “When I owned my service, we trained our team to clean top to bottom, back to front—in a circle around the room.” Reichert says they did this in every room, every time, whether they were cleaning the kitchen or a small powder bathroom. “It was effective and efficient.”
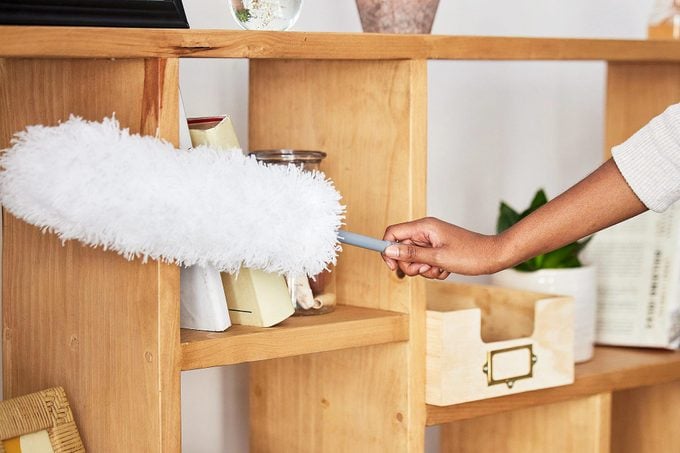
Use microfiber cloths
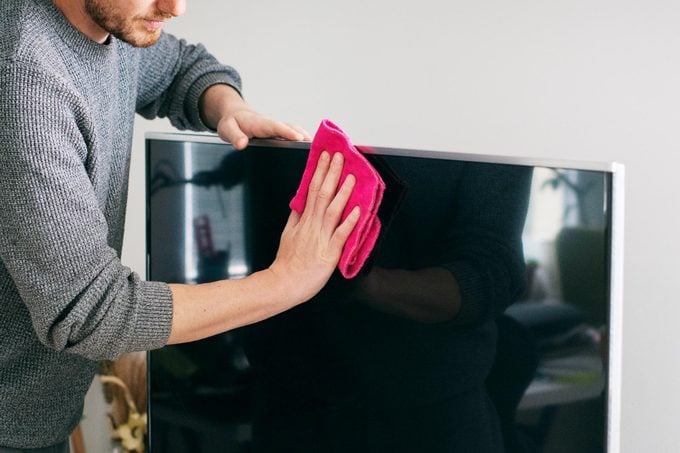
For certain dusting challenges, a feather duster is great. (Good luck dusting your delicate artwork or shelf of knickknacks without one.) But for everyday surfaces, such as tabletops and TVs, embrace the microfiber cloth. “I love dusting with a big puffy microfiber cloth,” Reichert says. “I’ve used feather dusters, but they just push dust around.”
Rathey says microfiber works so well because it has an “exceptionally huge actual surface area.” How big are we talking? About 40 times more surface area than cotton fibers, and each microfiber holds six times its weight in water! Another perk: Microfiber cloths are positively charged, so they attract negatively charged dirt and microorganisms.
| ♦ Expert advice |
| Wash microfiber cloths properly. To preserve their cleaning power, always separate your microfiber cloths from all other laundry. Because they attract hair, dirt, dust and lint, you don’t want them washed with other items. Machine-wash in warm water with mild detergent or vinegar on a delicate setting. Air-dry. |
Pick up clutter consistently
One of the most efficient cleaning tips is to declutter constantly. Before spraying a surface or lifting a duster—microfiber or otherwise—pick up your stuff. Cleaning around clutter is a waste of time. Scan the room, and take everything that’s not where it belongs and put it away. Declutter surfaces as well as the floor, and don’t forget to look under the bed.
Don’t wait for cleaning day to declutter your space, though. Pick up clutter every day, if you can. (This is a great way to get your kids involved in cleaning.) Every six months or so, take a load of infrequently used household items to your local donation center.
Clean first, disinfect second
Cleaning and disinfecting are two different things, and Rathey says they must be handled separately. If you’re cleaning a bathroom, for instance, and spray a sanitizing solution on a surface without removing the physical dirt, not only will the sanitizer not reach the whole surface, the organic materials on the surface could actually work against the disinfectant. Cleaning before disinfecting removes organic soils, such as skin oils, dirt and grease, “that may deactivate the active ingredient of your sanitizer or disinfectant, rendering it inert,” Rathey says. So clean first, disinfect second.
Dust, then vacuum
Another important order to remember: “When cleaning, you should dust first and then vacuum,” Reichert says. That way, if anything falls on the floor, you can just vacuum it up. In fact, vacuuming should be the last thing you do in every room. Pick up clutter, dust surfaces, wipe down mirrors and countertops, make the beds. “Then, just vacuum yourself out,” Reichert says.
(RELATED: Find out how often you need to be vacuuming.)
Raid the pantry for cleaning supplies
Commercial products have their place, but for some spaces, a natural, inexpensive pantry item could be the way to go. Using baking soda, vinegar, salt and lemons is a time-tested and proven cleaning tip to cut through grease and grime.
Plain white vinegar is a favorite of cleaning expert Alicia Sokolowski, president and co-CEO of AspenClean eco-conscious cleaning products. It’s versatile, inexpensive and nontoxic, which means it’s safe for most surfaces—and your family. Sokolowski calls vinegar “one of the most perfect cleaning agents.” Mildly acidic, it’s great for cleaning almost anything, including your shower, dishwasher, drain, stove, sinks, cutting boards and more. The exception? Stone countertops, especially marble.
| ♦ Expert advice |
| Reach for essential oils. If the vinegar smell is not your thing, simply get rid of it by adding a few drops of an essential oil, Reichert says. |
Don’t mix vinegar and baking soda
Cleaning recipes often call for mixing vinegar and baking soda. Don’t do this. It’s not dangerous; it’s just not very effective. Stick to using the two ingredients on their own. Vinegar, a weak acid, and baking soda, a weak base, react furiously when mixed. And that bubbling leaves the impression that they’re really working hard. They are, but not like you think. The chemical reaction is making water, carbon dioxide and a salt, which is fine, but mixing the two diminishes each one’s standalone effectiveness (vinegar decreases baking soda’s ability to cut through grease, and baking soda decreases vinegar’s ability to break down mineral deposits).
The exception? Drains and disposals. The bubbling action within these very small confines agitates light buildup, loosening it for easier rinsing.
Change solutions often
Wiping your kitchen or bathroom counter with a dirty rag isn’t much better than not bothering. That’s why it’s so important to change to fresh tools and cleaning solutions when going from dirty to cleaner areas, Rathey says. Buy microfiber cloths in bulk, and as they get dirty, toss them in a pile for washing. Every time you move to a new room, or soil your cloth so that rinsing is no longer effective, switch to a clean microfiber cloth.
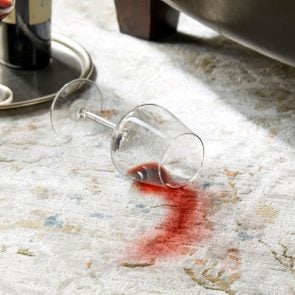
Clean up spills immediately
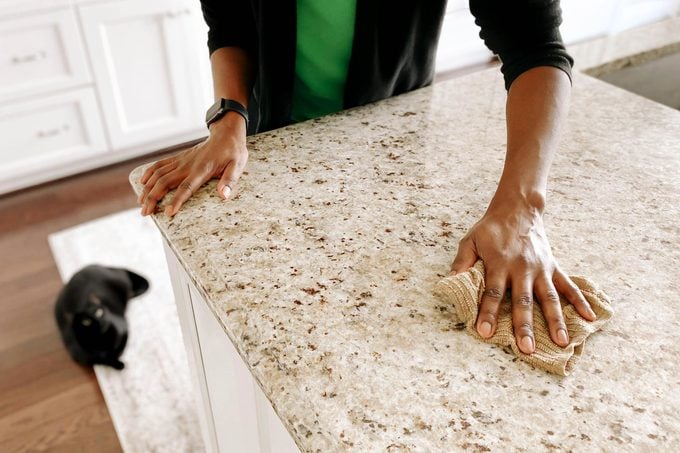
Today’s spill is tomorrow’s stain, so jump on those stray globs of spaghetti sauce in the microwave or on the counter right away. “Kitchen cleaning becomes a whole lot easier when you clean right after meal preparation,” Deonarain says. Wipe up fresh spills with a little dish soap and warm water, using a soft sponge or microfiber cloth to avoid scratching your countertops.
And if you’re keeping score, here’s another point for vinegar. Deonarain says that white vinegar is “an excellent aid in the removal of food and ingredients-based stains on almost any surface.” Use a 50-50 vinegar-and-water mixture on your appliances, cabinets and counters (as long as they’re not natural stones, such as granite or marble).
Use a squeegee
No, not on your windows, although that’s one of the best cleaning tips too. Use a squeegee on your countertops, Rathey says. The cleaning-for-health expert says window-washing professionals have a brilliant technique: Clean and scrub first, then squeegee away the dirty water into a bucket. No streaks and no wiping germy, grimy water all over the place. Nothing left behind but clean glass (or in your case, the counter).
A squeegee works well on large kitchen islands or long, unbroken counter expanses, especially where you can direct the water into the sink. No need to break out this big gun for everyday cleaning, but when you’re tackling the entire counter at once, a weekly squeegee works like a charm.
Wipe down your cabinets
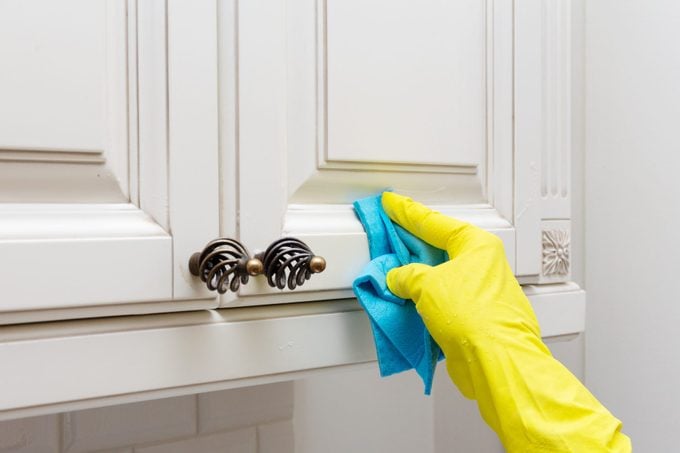
Have you ever seen little greasy drips making their way down cabinets that are rarely cleaned? It’s pretty gross. Don’t let that happen in your kitchen. Wipe down the outside of your cabinets weekly to keep grease and cooking odors from settling in. Water and dish soap or vinegar will make quick work of this task, but test an inconspicuous area before scrubbing solid wood or other potentially sensitive materials.
| ♦ Expert advice |
| Scrub with a toothbrush. If you come across dried-on goo of unknown origin, grab an old toothbrush. The gentle scouring action should cut through even the worst grease and grime. If you need a boost, add a baking soda paste (water and baking soda)—but again, test first. |
Clean out your cabinets
Speaking of cabinets, an organized kitchen can lead to a clean kitchen. Deonarain says it’s important to not only clean them, but clean them out: “We recommend a periodic unpacking and general cleaning of cabinet [interiors].” Separate your cabinets into three sections, and do one section every month. Or, clean out all your cabinets once a quarter. Really get in there too. Take everything out and scrub the shelves with water and dish soap or vinegar. Use a baking soda paste on stubborn, stuck-on food. Get rid of stuff you’re not using.
Cleaning out your cabinets “will allow you to get some visibility of stains, so that you can take action on them before they sit too long,” Deonarain says. Plus, you’re decluttering!
Be smart about mopping
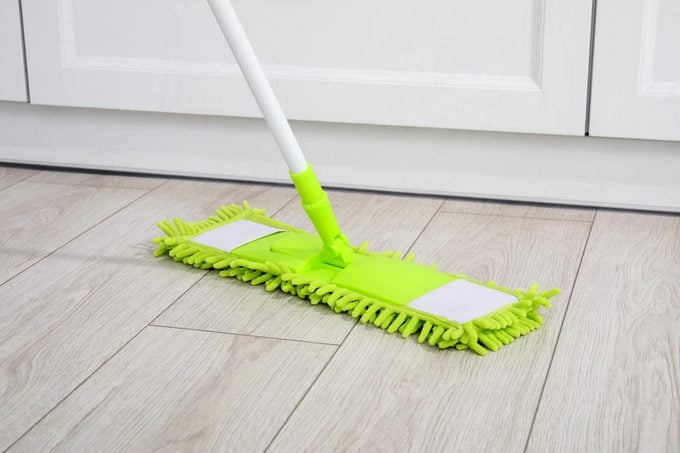
“Floor mopping can be more of a soil-spreading tool than a cleaning tool,” Rathey says. Unfortunately, the way the pros clean floors, according to Rathey—applying a clean solution, then vacuuming off the dirt in suspension—may be out of your reach. Instead, always sweep or vacuum to get as much debris off the floor as possible before you start mopping, and change your mopping solution frequently. Rinse and air-dry your mop head after use. If you use a disposable system, such as a Swiffer, change the pad frequently.
De-gunk the garbage disposal
When you just can’t seem to find the source of that kitchen smell, check the garbage disposal. Food, foul-smelling bacteria and even mold can collect in the disposal and on the rubber splash guard (aka the baffle). One of our favorite cleaning tips? “Run ice chips through the disposal periodically,” says Alan Soukup, plumber and owner of Bluefrog Plumbing + Drain of North Dallas. You can do this as often as you want, even every day, to clean the impeller (the part that pulverizes your food) and the sides of your disposal. The ice chips scrub and scour otherwise hard-to-clean areas inside the disposal.
| ♦ Expert advice |
| Make lemon ice cubes. To add a fresh, citrus scent, Sokolowski reaches for lemon. “If you’ve got a bit more time, put some chopped-up lemon in an ice-cube tray and fill it with water,” she says. Freeze, then send the cubes down the disposal. Add leftover herbs, such as mint, rosemary and thyme for an extra boost. |
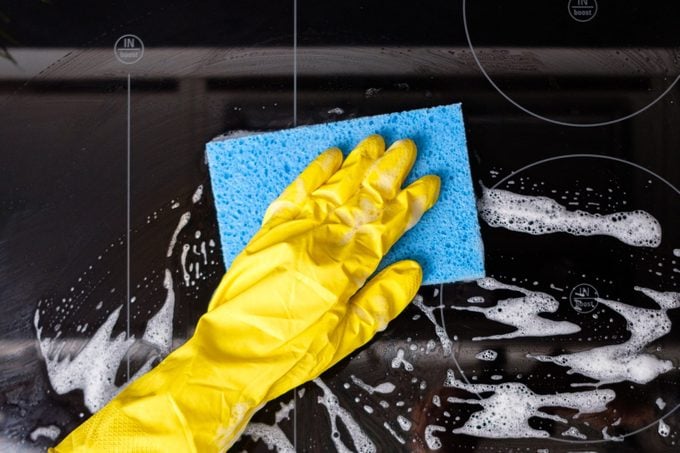
Don’t neglect appliance exteriors
Nothing draws your eye in the kitchen like a refrigerator covered in fingerprints. Once a week, clean the outside of your fridge, stainless steel dishwasher and oven with a soapy mixture of dish soap and water, or a 50-50 mixture of vinegar and water, to keep grease and fingerprints at bay. Haven Polich, product manager and appliance expert at Asko luxury kitchen and laundry appliances, says to follow with a clean, dry microfiber cloth. “You can also find stainless steel cleaner in most stores,” Polich says. Apply and buff to a high shine.
Clean appliance interiors too
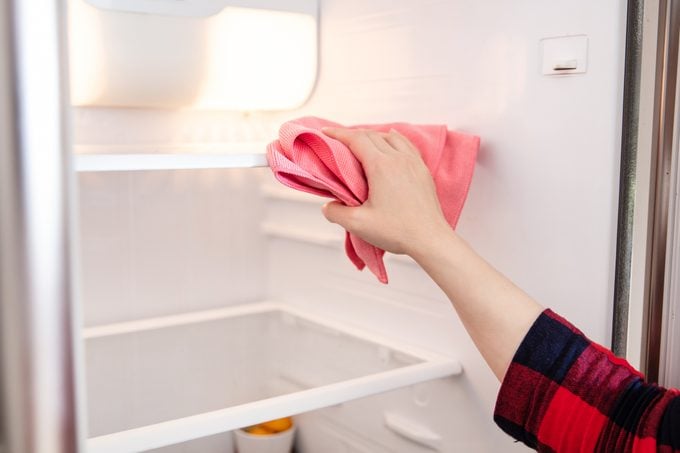
Once a month, clean inside your fridge with dish soap or vinegar. Scrub stains and stuck-on food with baking soda pastes, and remove the drawers to clean them in the sink. Rinse everything well with clean water. Clean your oven interior once or twice a year, says Amelia Hemsley, director of cooking systems at GE Appliances. Clean it more if you cook most meals at home. Use the self-cleaning oven function for best results.
One place that’s often overlooked is the ceiling of your microwave, which gets covered in food splatters that are sometimes hard to see. When you clean your microwave, wipe the ceiling with lemon for an extra-fresh burst that works great too.
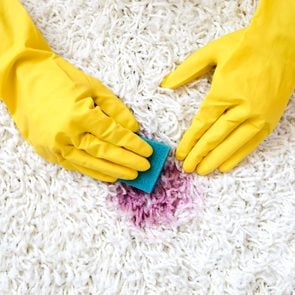
Vacuum more frequently than you think
Bad news. Even the latest vacuuming technology is no match for your living room. Rathey says “even the best machine removes a mere fraction of the soils” in and at the base of your carpet’s fibers. Not only is this bad for your health, but the unseen dirt and dust can be tracked around the house and damage your carpet, especially in traffic lanes. That’s why Rathey says there’s an axiom among cleaning pros: “You can’t vacuum too much.”
| ♦ Expert advice |
| Vacuum once a week per occupant. According to carpet cleaning expert Jeff Cross, this is especially true in your home’s most-used rooms. And your pets count as occupants too. “So a family of five with pets? Vacuum every day,” Cross says. |
Vacuum the right way
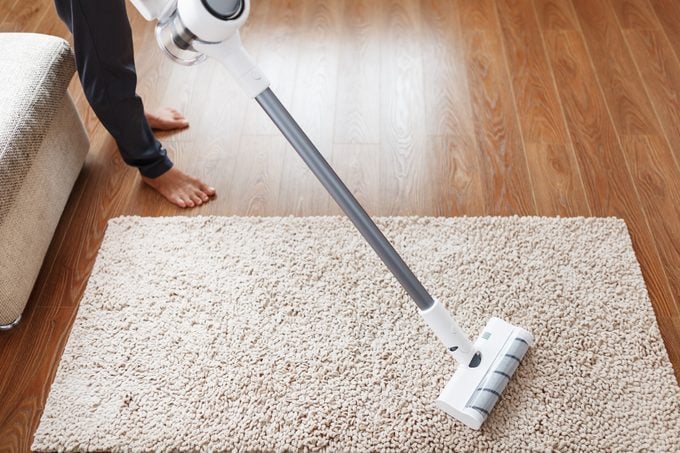
Not only should you vacuum more frequently, it’s important to vacuum the right way. Start at the back of the room and work your way to the door, so you’re not tracking across the just-vacuumed carpeting. And instead of randomly zigzagging, move methodically in overlapping straight lines, like you’re mowing the lawn. Deonarain says to take advantage of your vacuum’s attachments and recommends an extendable, angled brush attachment for pet hair on upholstery or in crevices.
Empty your vacuum
One last thing on vacuuming (and one of the most important cleaning tips for keeping your tools running efficiently): For best dirt removal, you have to empty the canister or replace the bag regularly. Don’t wait until it’s totally full, either. “Empty and replace vacuum bags when two-thirds full at maximum,” Cross says. (That goes for bagless canisters too.) Vacuums need airflow and clean filters to have maximum suction, so a jam-packed bag or canister drags the efficiency way down. Check and empty before you start, and if you happen to smell something bad coming from your vacuum, Cross says to power off and see if it needs emptying.
Try this ceiling fan hack
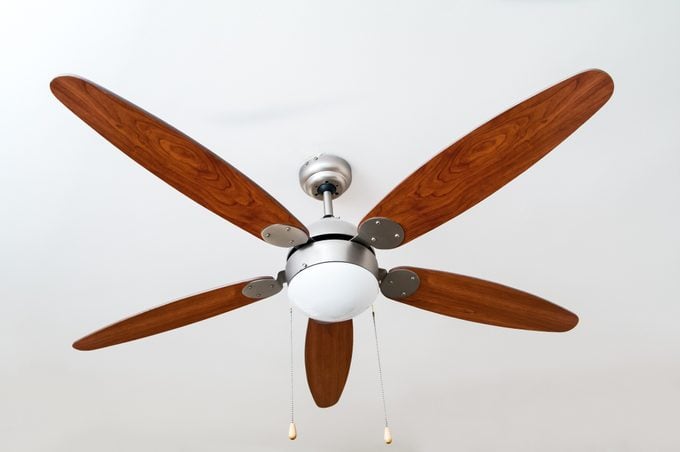
A dusty, grimy ceiling fan brings a room down, even if the rest of it is clean. And once you notice it, you can’t stop looking. Sure, you can use a telescoping duster—and for really high ceilings, that’s likely your only choice—but when cleaning ceiling fans you can reach from your bed or a stepladder, use an old pillow case. Just slide the case over the blade or paddle, and lightly squeeze. “Pull the case off the paddle, and the dust will be inside the pillow case,” Reichert says. No more gross fuzz on your furniture. Finish by wiping down the fan with a gentle cleaner.
Focus on frequent contact points
Cleaning takes time, and sometimes we just don’t have it. In between more in-depth cleaning sessions, focus on the places your family touches the most. Think: light switches, TV remotes and door handles. “Most people clean for appearance, not necessarily health,” Rathey says, but it’s these shared touchpoints that can spread illness. Rathey reminds us to clean first, then disinfect.
| ♦ Expert advice |
| Use disinfectant wipes properly. If you’re using disinfecting wipes as a one-step method on frequent contact points, make sure to read the directions. Some require you use enough wipes for the treated surface to remain visibly wet for four minutes in order to properly disinfect. Rathey says it’s also important to apply and wipe with separate fresh wipes to accomplish both cleaning and disinfecting. |
Safely mop hardwood floors
Beautiful, sleek hardwood floors are elegant and durable, and not as hard as you might think to keep clean. A quick daily sweep with a broom or dust mop should be your go-to, according to Deonarain, but did you know you can mop hardwood floors? The cleaning expert says he wouldn’t make this your daily default, but high-traffic areas can handle it once a week. Just don’t leave standing water, which can warp your wood or cause mold.
Not sure how to clean hardwood floors? Use a wood-safe product and dilute it according to the package directions. Deonarain says to avoid wood cleaners that promise a heavy shine, as they “tend to look great right after cleaning, but can cloud up after you start walking on the floor.”
Clean the baseboards
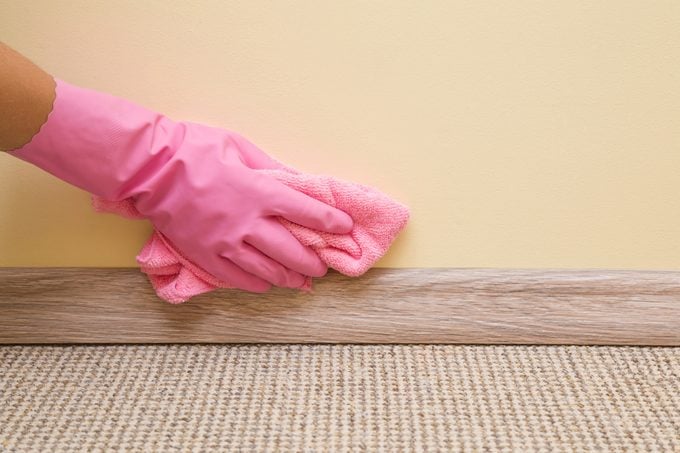
Baseboards often go unnoticed—but when they’re clean, they really make a room pop. Sokolowski’s cleaning tip? Clean baseboards once a quarter, more if you have children or pets. Vacuum or sweep the floors and baseboards to remove loose debris, then clean with a gentle cleaner like dish soap or vinegar. Once they’re deep-cleaned, Sokolowski says to dust or vacuum them once or twice a month. A vacuum with a long brush attachment will save your back!
Perform parallel tasks
Cleaning takes time, so it pays to stack your tasks if you can. When doing laundry, use any downtime to tackle other things around the house, especially in the vicinity of your laundry room. After you put your sheets in the wash, for instance, unload the dishwasher or start your quarterly cabinet cleaning. Head back to the laundry to pop the sheets in the dryer. Cleaning this way “not only saves time, but gives you a much-needed break in the middle of your cleaning routine to switch the washing load to drying.”
Wash your pillows
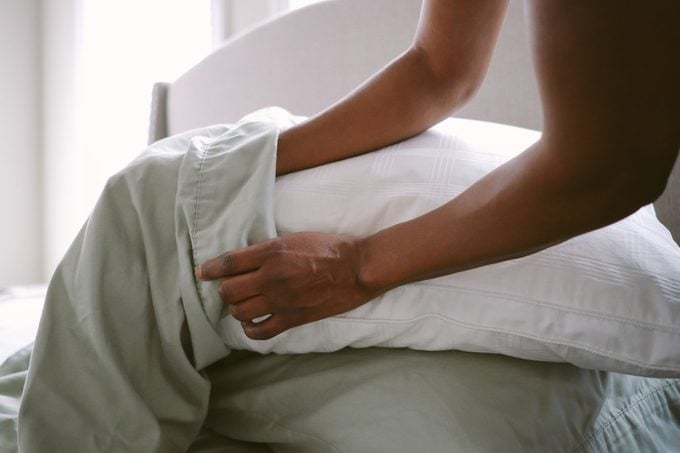
You probably wash your sheets and pillowcases once a week or so. And you should: They’re repositories for skin flakes, dust mites, moisturizers, body oils and plain old dirt. And if all that grime is on your pillowcase, it’s on (and in) your pillow too, even if you use a pillow cover. Luckily, learning how to wash pillows is as easy as tossing them in the washing machine. Really? Really.
The main exception is foam, so check the label of your pillow to make sure. Cotton, polyester and even down-filled pillows can be safely washed using a mild detergent or vinegar. Then tumble dry on low, and toss in a few tennis balls or wool dryer balls to fluff up the fill.
| ♦ Expert advice |
| Submerge your pillows. To make sure they don’t float in a top-loading washing machine, fully submerge your pillows in water to weigh them down before tossing them into the drum. |
Organize by color
Do you ever reach for an old, wrinkly sponge under the sink, only to think twice about using it? If it’s been in the bathroom, you’re right to worry. The last thing you want to do is transfer bathroom germs to other parts of your house. Cleaning experts and the Centers for Disease Control (CDC) recommend color-coding sponges, microfiber cloths and scrubbers to serve as a visual cue of what areas they can clean. Assign one color for the bathroom, another for the kitchen and a third for general dusting.
Clean the bathroom last

A quick tidy-up of your vanity or medicine cabinet can happen any time, but if “you’re dedicating a few hours to cleaning, the last place to clean should be your bathroom,” Deonarain says. Even if you’re careful about separating cleaning cloths by color, there’s always the chance of cross-contamination if you’re walking back and forth from the bathroom. Instead, save it for last. Once you’re done, you’re done!
Clean glass like a pro
There’s lots of glass in the bathroom, so listen to the pros when it comes to cleaning shower doors, mirrors, shelves, glass block and windows cheaply and effectively. “Our go-to product is and always will be white vinegar,” Sokolowski says. It works on hard water and cuts through soap scum. Use it every time you clean your bathroom, which should be once a week.
Once again, microfiber cloths should be your go-to for glass, preferred by cleaning pros over old-time favorites like newspapers and paper towels. “Cleaning glass with a dampened, then dry microfiber cloth is the next best thing to using a strip washer and squeegee,” Rathey says.
Squeegee your shower

The second appearance of the squeegee on this list of cleaning tips! To clean the shower regularly, keep one in the shower and squeegee the glass doors and walls, as well as the tile, every time you hop in there. This inexpensive, handy little tool directs water, soap scum, shampoo and other grime down the drain before it has a chance to harden on your glass and tile, saving you tons of future elbow grease. To keep soap scum at bay in between squeegee sessions, spray a little vinegar and water solution on your glass, and allow it to air-dry.
Use a pumice stone
If you have really caked-on, mineralized hard-water stains in your toilet, tub or sink, try a pumice stone. This low-tech, inexpensive volcanic rock makes quick work of the toughest hard-water deposits, and it won’t harm (most) porcelain. Pumice stones are often sold under the brand name “Pumie,” and they’re available everywhere. Read the instructions for best results and to make sure your surface is compatible. For example, Sokolowski says that pumice stones, while generally safe, shouldn’t be used on colored porcelain.
Disinfect the toilet brush
When you clean your toilet, what do you do with the brush after that last swirl ’round the bowl? If you said, “I just stick the whole dripping mess back in the holder,” it’s time to stop. Your toilet brush and its receptacle are breeding grounds for bacteria and mold due to all that standing water and lackluster rinsing. Instead, try this: After cleaning your toilet, rinse the brush with an extra flush, then sandwich the brush in between the seat and bowl. Spray with a disinfecting solution, then rinse and dry completely before returning to the (clean, dry) holder.
Why trust us
At Reader’s Digest, we’re committed to producing high-quality content by writers with expertise and experience in their field, in consultation with relevant, qualified experts. For this piece, Ally Childress tapped her experience as a licensed electrician and seasoned home and cleaning journalist. Then cleaning expert Ann Russell, author of How to Clean Everything, gave it a rigorous review to ensure that all information is accurate and offers the best possible advice to readers. For this piece, we relied on reputable primary sources, including cleaning and health experts and reputable government agencies. We verified all facts and data and backed them with credible sourcing, and we will revisit them over time to ensure they remain accurate and up to date. Read more about our team, our contributors and our editorial policies.
Sources:
- Centers for Disease Control and Prevention: “Environmental Cleaning Supplies and Equipment”
- Association for Professionals in Infection Control and Epidemiology: “Microbiologic evaluation of microfiber mops for surface disinfection”
- CHADD: “Ready for Spring Cleaning?”
- Dan Deonarain, owner of Galaxy Maids; email interview, Dec. 18, 2023
- Allen Rathey, director of the Indoor Health Council; email interview, Jan. 31, 2024
- Jeff Cross, media director for the International Sanitary Supply Association; email interview, Feb. 1, 2024
- Amelia Hemsley, director of cooking systems at GE Appliances; email interview, Jan. 5, 2024
- Haven Polich, product manager at Asko Appliances; email interview, Jan. 28, 2024
- Leslie Reichert, the Green Cleaning Coach and author of The Joy of Green Cleaning; email interview, Jan. 29, 2024
- Alicia Sokolowski, president and co-CEO of AspenClean; email interview, Jan. 2, 2024
- Alan Soukup, owner of Bluefrog Plumbing + Drain; email interview, Jan. 2, 2024
Originally Published: March 20, 2023